Photoshop:风景照变非主流色调签名图
(编辑:jimmy 日期: 2026/7/9 浏览:2)
本文由中国教程网 translate 原创,转载请保留此信息!
写给朋友的教程,顺便带上来一起学习...对播!!!
这个效果在很多平时非们的签名图上都出现过,很简单...每张图的意境不一样, 所以我做的可能差点!!!
但你们做的好看就是啦~~ 好啦!!开始...
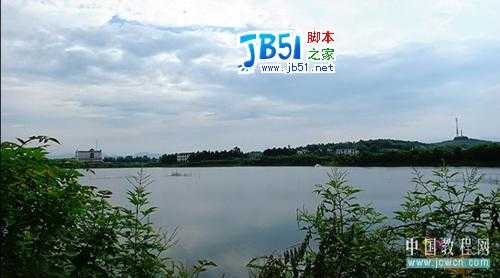
原图:
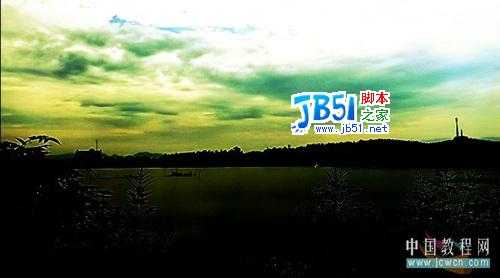
效果图
签名图:


如图:

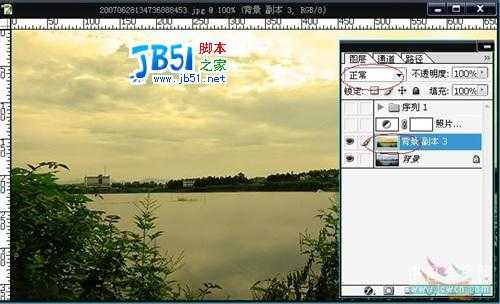
打开“图象-调整-照片滤镜头”

2.参数调整如图

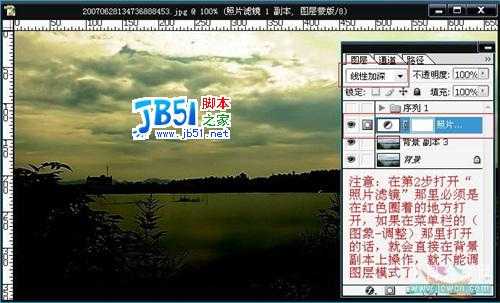
注意~~~~~
像这样就不能调图层模式了...
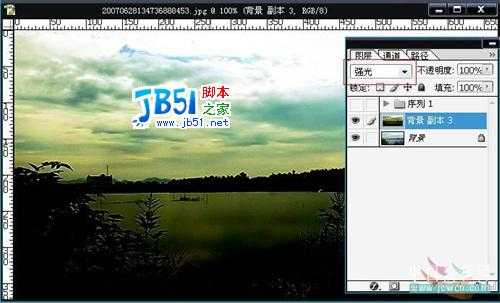
把图层模式改为“线形加深”
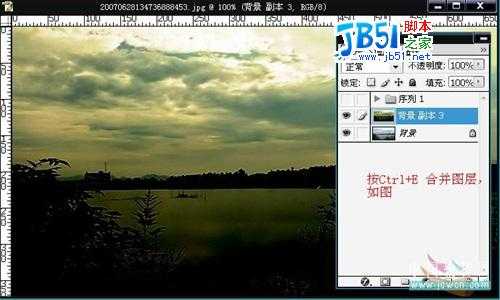
按crtl+e 合并图层
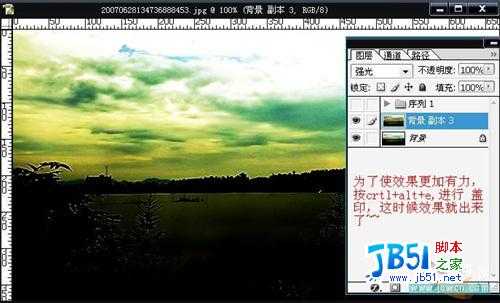
按ctrl+alt+e 进行盖印,使效果更加有力
选一个自己有感觉的部分,加上字体,简单制作为签名
结束........... baibai ....
写给朋友的教程,顺便带上来一起学习...对播!!!
这个效果在很多平时非们的签名图上都出现过,很简单...每张图的意境不一样, 所以我做的可能差点!!!
但你们做的好看就是啦~~ 好啦!!开始...
原图:
效果图
签名图:
如图:
打开“图象-调整-照片滤镜头”
2.参数调整如图
注意~~~~~
像这样就不能调图层模式了...
把图层模式改为“线形加深”
按crtl+e 合并图层
按ctrl+alt+e 进行盖印,使效果更加有力
选一个自己有感觉的部分,加上字体,简单制作为签名
结束........... baibai ....