稿子,画笔刷随意。(原型就是下面这张)

新建各部位图层,一物遮一物的关系建。画笔设置如图所示,铺好各个色块。

画笔同上,依然全更度。在色盘上找相对颜色深一点的,涂上去,要根据光源方向。假设光源来自左上方。右脸左脖子就得亮!

现在,换100%柔边的笔,流量10%左右,细致均匀的涂抹各个部位,全图进行。此时脑子里一定要对上一步的光源方向加强,
不可乱抹,及时翻转画布调整形体。

曲线调色,把肤色拉亮。。再用硬边笔勾出眼睛眉毛。关于鼻子,先用硬边从眉心到鼻孔拉两个黑线,再拿柔角细修,简单快速。
记住鼻尖的高光。

眼睛和嘴忽略,看多了就会画了。如果不明白,请看以前的教程。

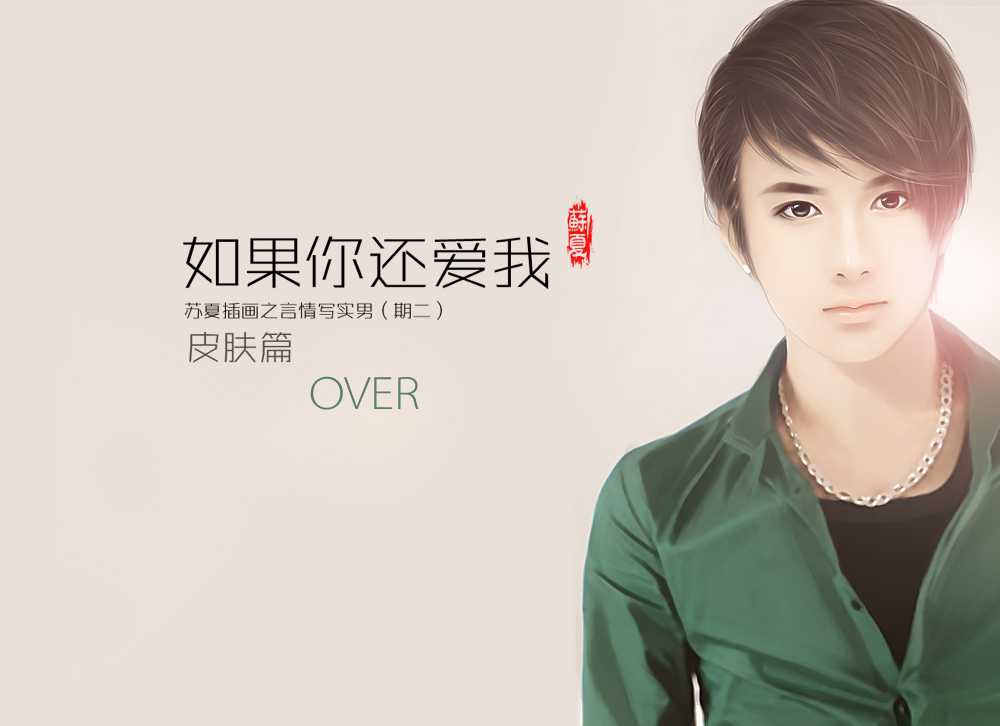
完!