Photoshop将普通生活照转化成手绘效果
(编辑:jimmy 日期: 2026/7/11 浏览:2)
本教程主要使用Photoshop调出美女生活照片唯美的转手绘效果,我们先观察人物的表情语言在构思需要添加的素材 ,定位为清纯可爱风格用钢笔 、图章、颜色叠加、颜色减淡、曲线等工具对画面进行修饰 ,我一般都是先把脸型皮肤修饰过后进行素材的添加 ,而不是先添加素材,修饰过后在添加 素材比较细致一些,我们绘制眼影的时候选择 淡紫色加淡青色也是神秘奇幻的色彩,在配上粉红的脸蛋色彩可以让画面配色更稳,我把粉红色主要用在人物脸的颜色,头发添加几个各种颜色的效果 增加视觉感觉 ,在这个主色调基础上再配红、蓝、青 背景叠加 等辅助色和点缀色斑达到营造 插画的风格。
制作类似于手绘的效果注意:尽量选择正面头像五官清晰的图片,光线不要太昏暗,尽量露出额头尽量不要选择,表情张和带饰品的图像哦。这样对制作会造成很大阻碍。
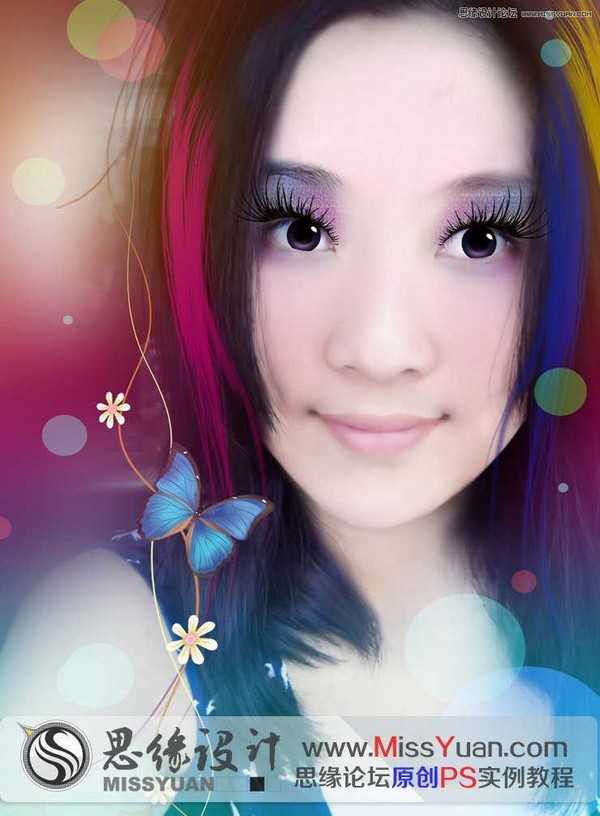
先看看效果图
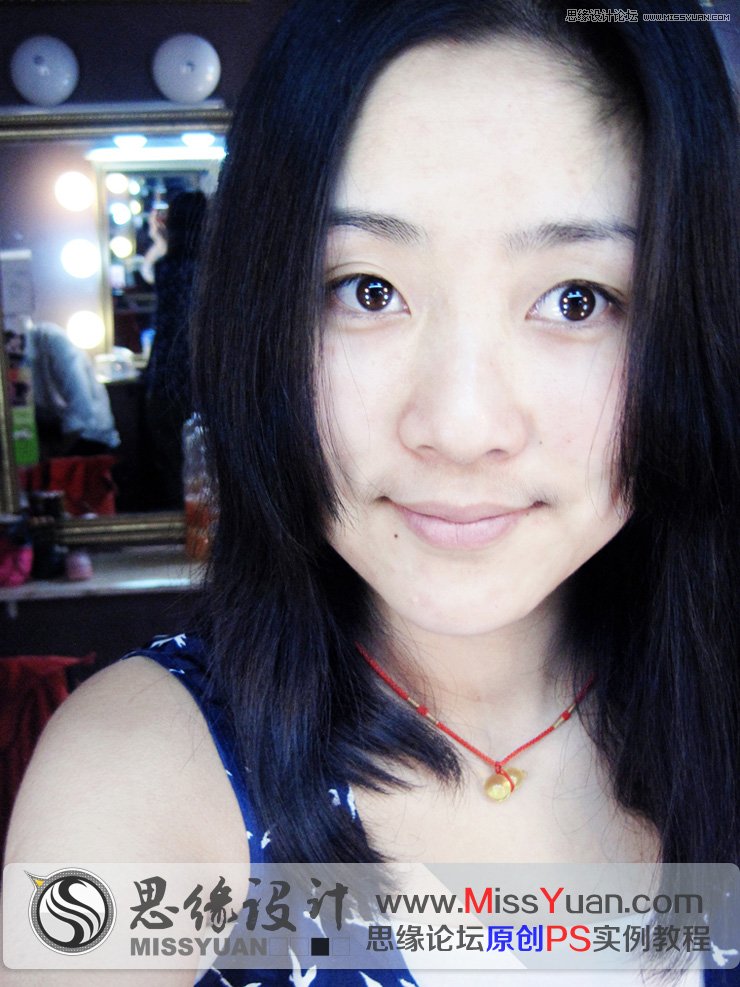
下面是原图
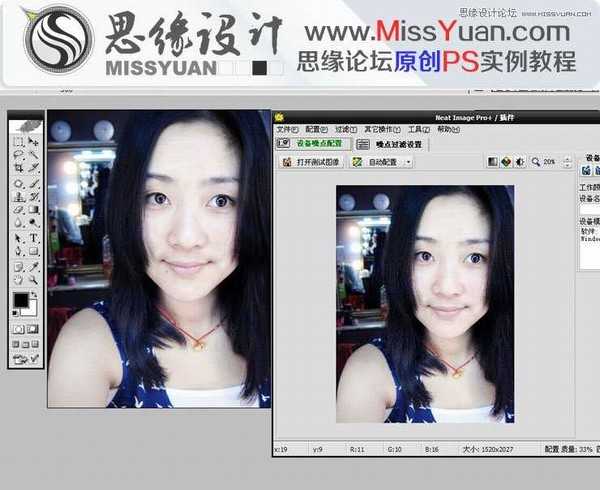
1.打开降噪工具选择一块皮肤不好的地方按F9对照片进行细腻光滑修饰用这个插件时候注意把眉毛眼睛...细节擦拭出来哦。
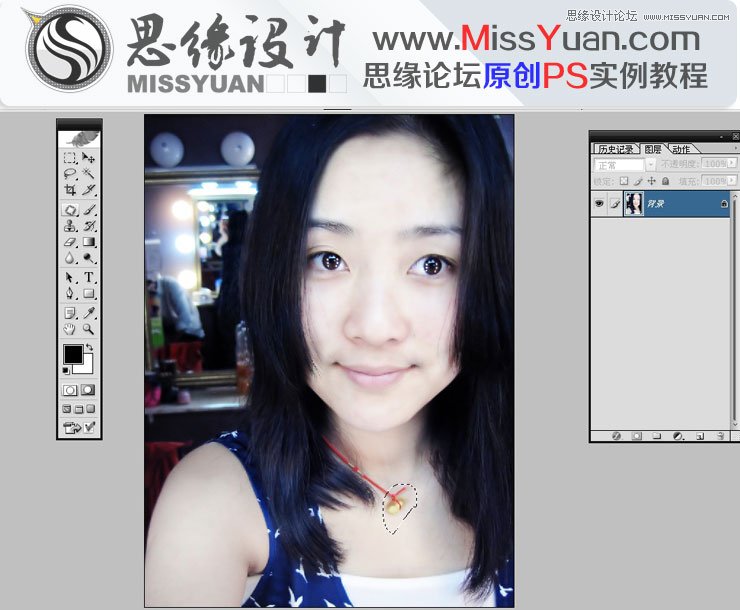
2.把人物脖子的红绳饰品去掉杂乱的东西,用图章把皮肤修细腻光滑,这样会更接近手绘的效果哦。
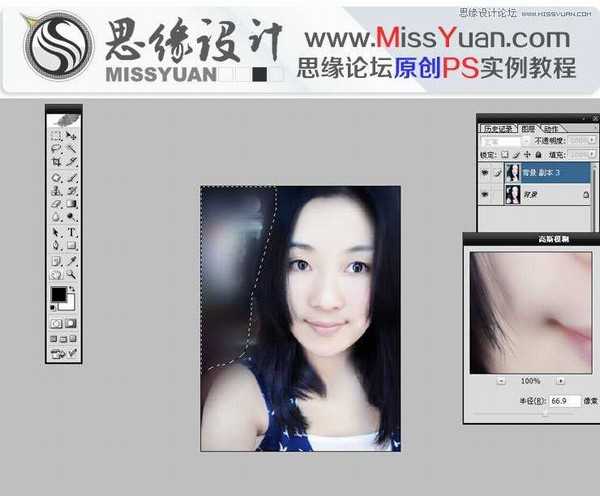
3.为了整体效果我们把背景比较乱的地方用高斯模糊把背景模糊了,这样背景就不会太抢眼中心就放在人物上了。
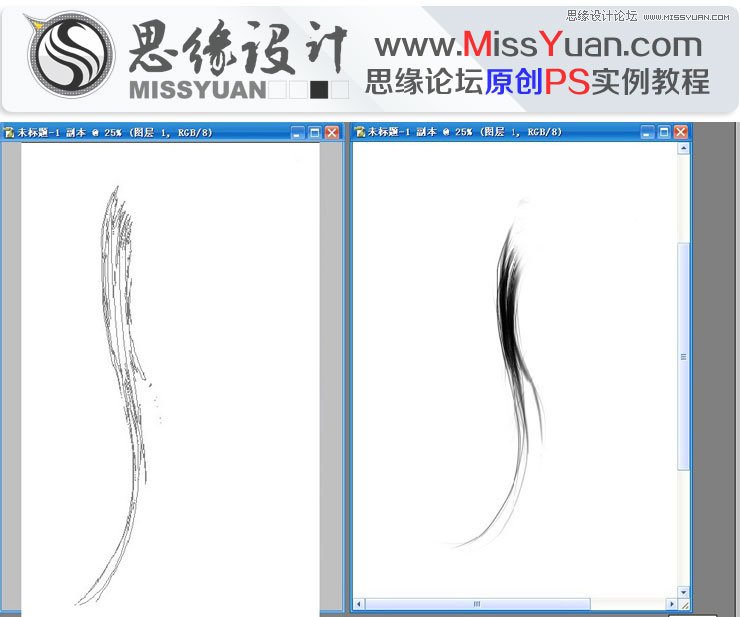
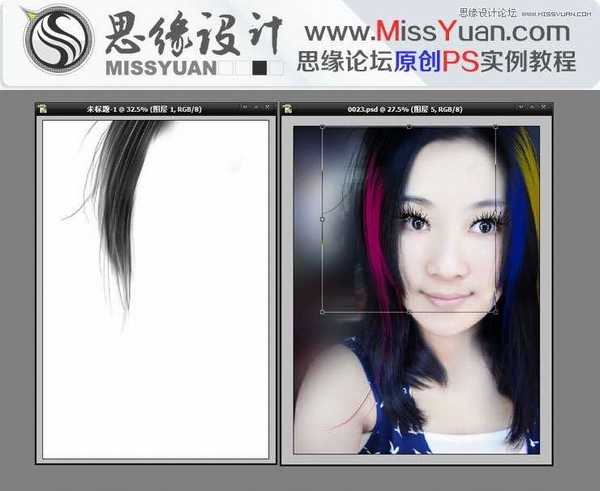
4.用钢笔勾出头发路径,注意流畅是关键 建立一个空图层选择用画笔描边路径勾画头发路时候一定要细比例协调调整到完美。
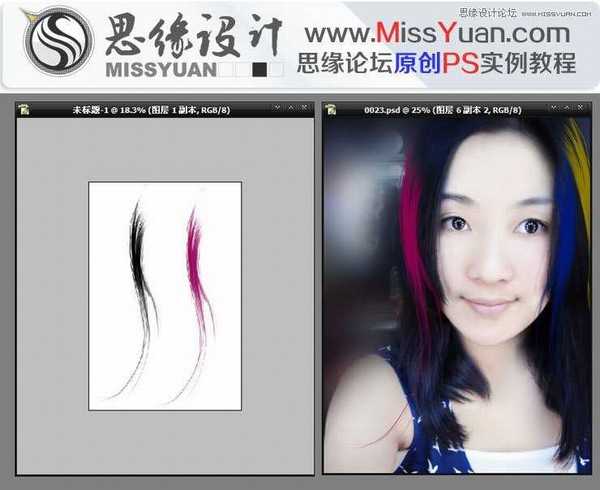
5. 我们把黑色的头发填充成红色 蓝色 黄色调整好比例用橡皮擦拭一下让头发的层次流畅一些。
6.用钢笔勾出睫毛路径建立一个空图层选择用画笔描边路径把睫毛托进去,调整好倾斜位置。
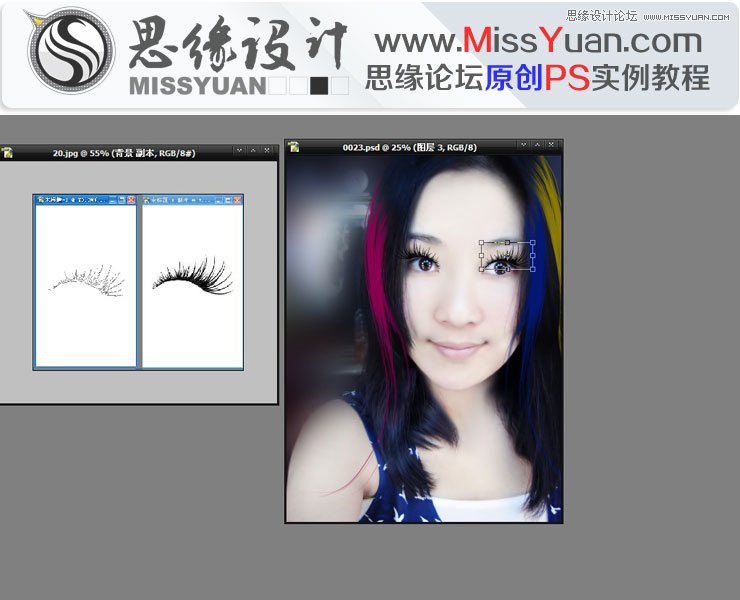
7.把事先做好的头发拖入其中调整好位置。
8.把嘴唇用钢笔勾出来,用图章把唇纹修饰掉更接近手绘的效果。

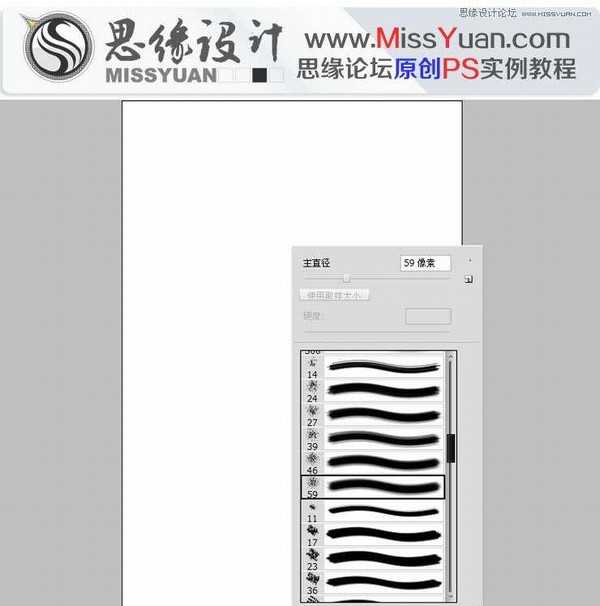
9.我们打开画笔工具选择适合的(画笔PS自带)进行眼影的制作。
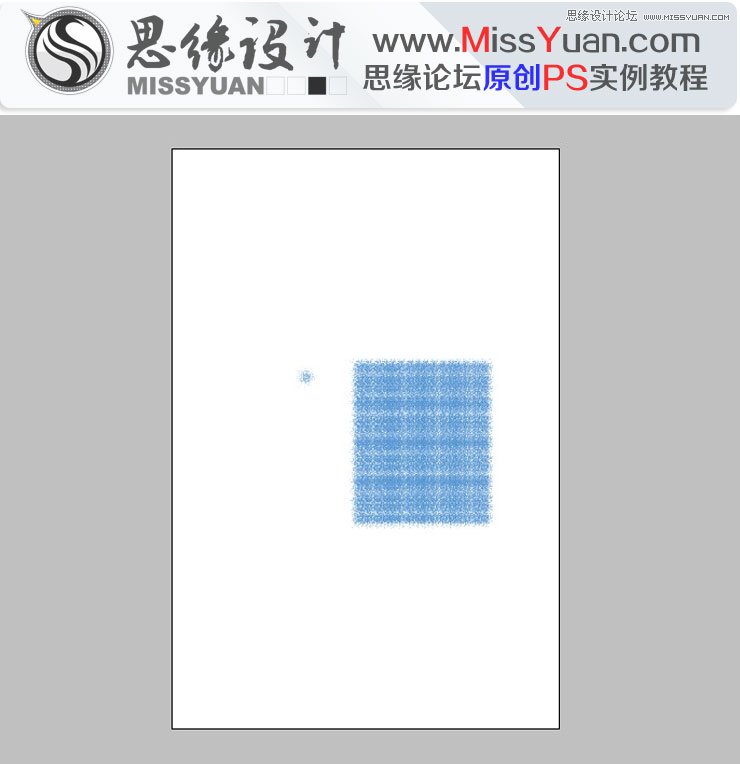
10.我们选择色板选择蓝颜色用画笔画出来,重复复制出自己想要的效果
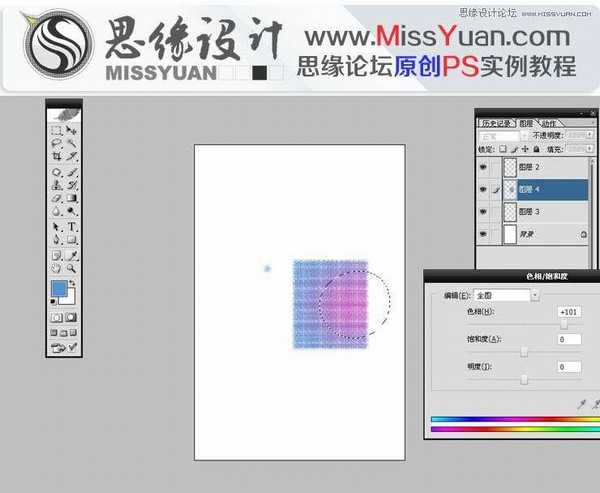
11.选择色相饱和度把局部调整成粉红色
12把制作好的眼影素材拖到眼睛部位建立一个反选隐藏蒙版A/T+l+k+h
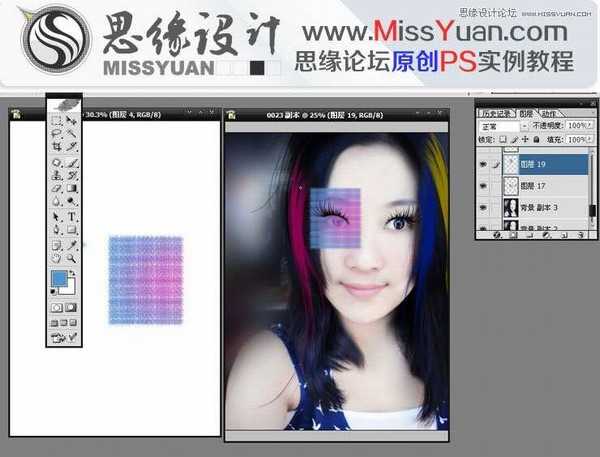
13.用画笔工具把事先隐藏眼影素材擦拭出来自己想要的效果,注意眼影的过度要真实自然哦。
14.复制出来一个眼影把位置调整好位置
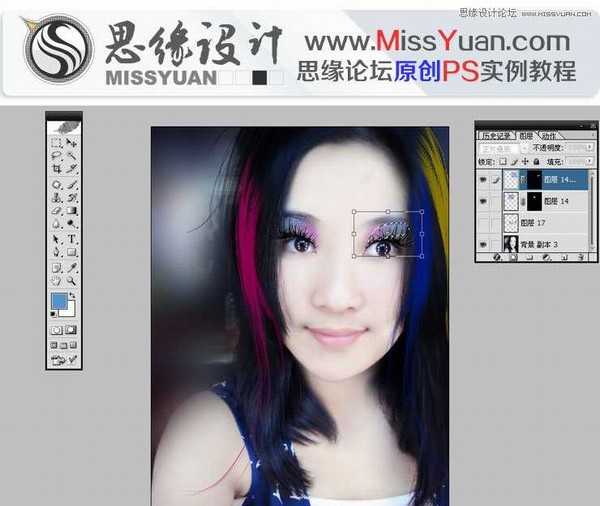
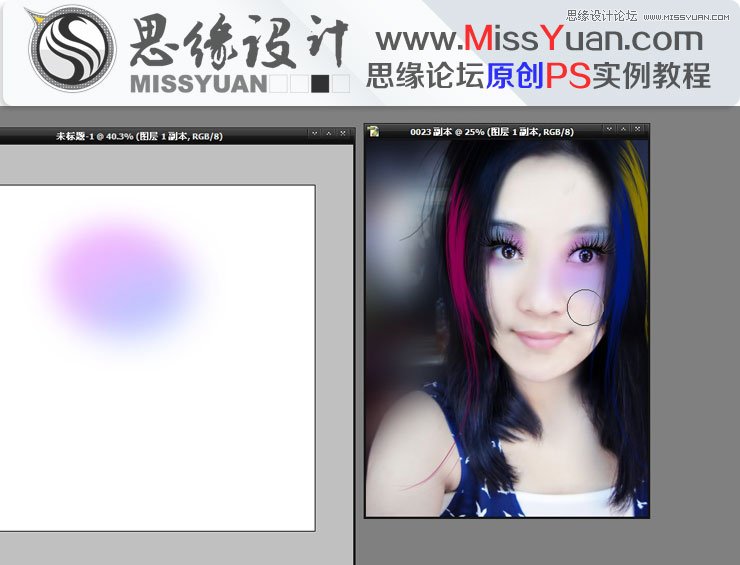
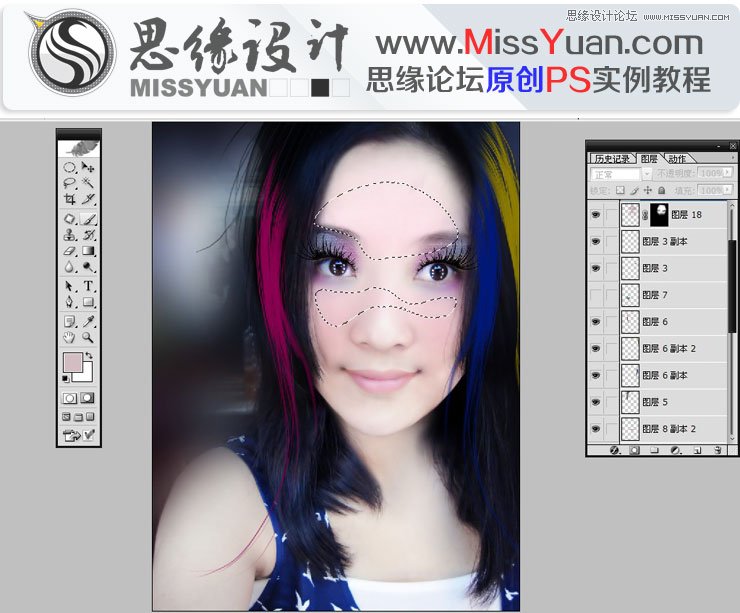
15.填充出淡紫色和淡蓝色拖到人物眼睛下用橡皮擦拭出来过度效果。
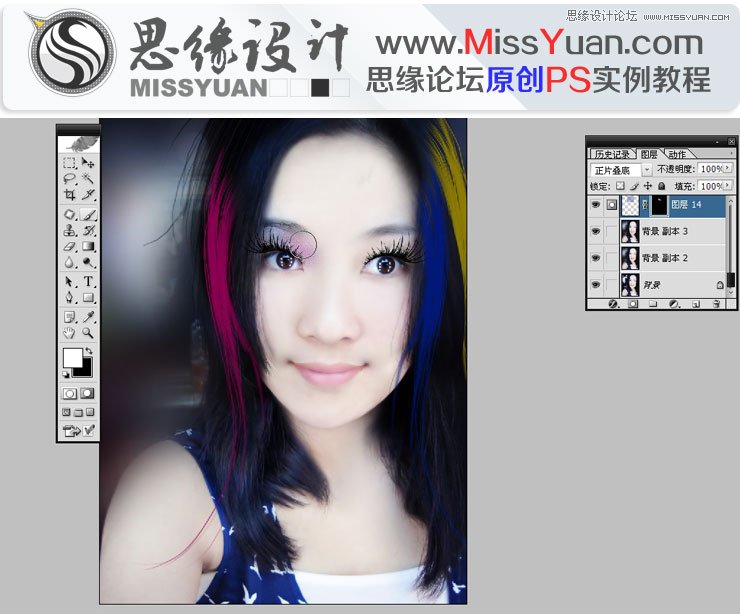
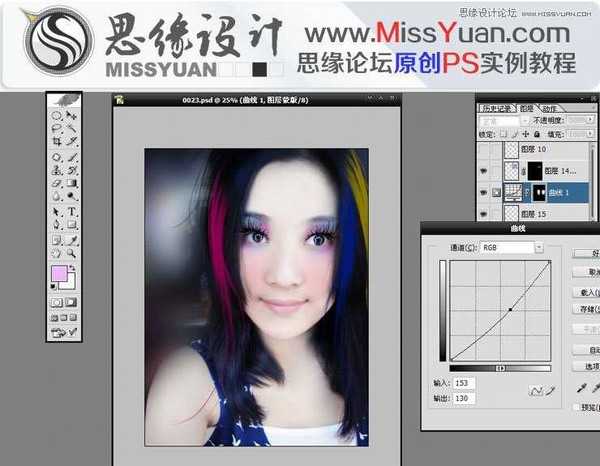
16.用套索工具在脸部画出曲线用曲线工具压暗调整好颜色压暗提红吧腮红弄成粉红色这样人物显得更可爱。
17.在人物脸部填充一个色块正常模式调整成滤色建立一个反选隐藏蒙版A/T+l+k+h
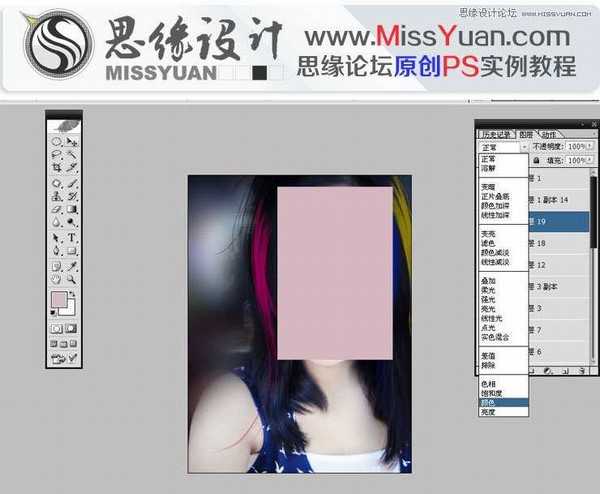
18.用画笔工具擦拭出来脸部的颜色把人物脸的颜色擦拭成粉红色。
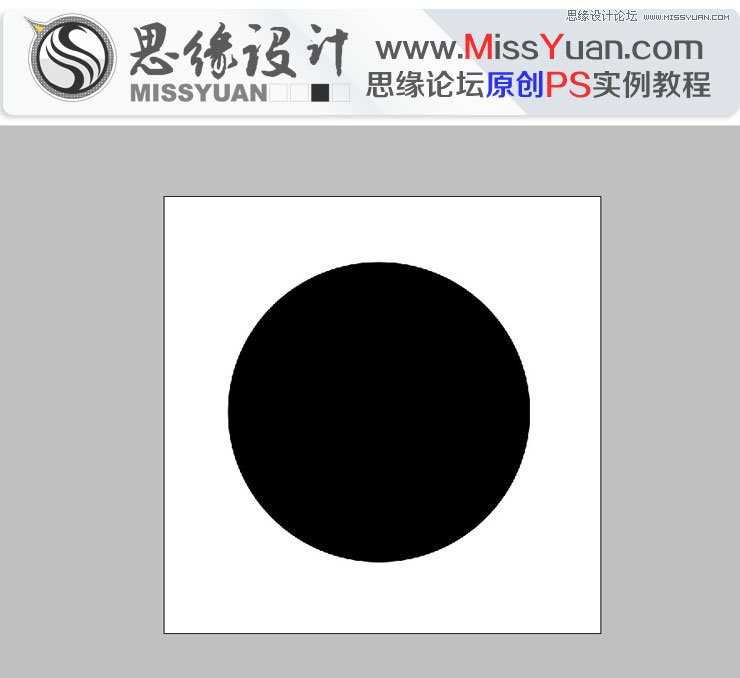
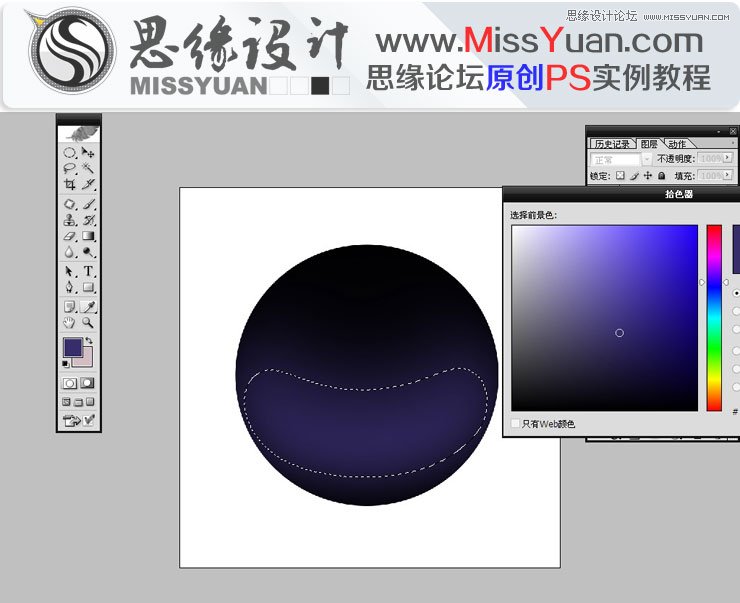
19.用画圆工具划出一个黑色的圆我们开始做眼睛。
20.我们建立一个选区给20个羽化填充成蓝色。
21.在用橡皮把边缘擦拭干净调整好过度。
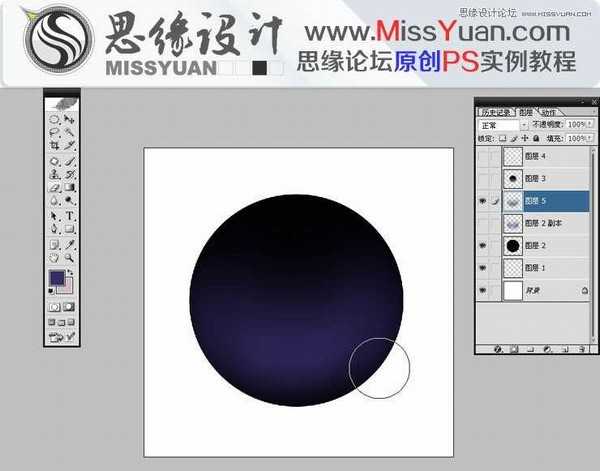
22.用简单工具在蓝色图层中心减淡调整自己想要的效果。
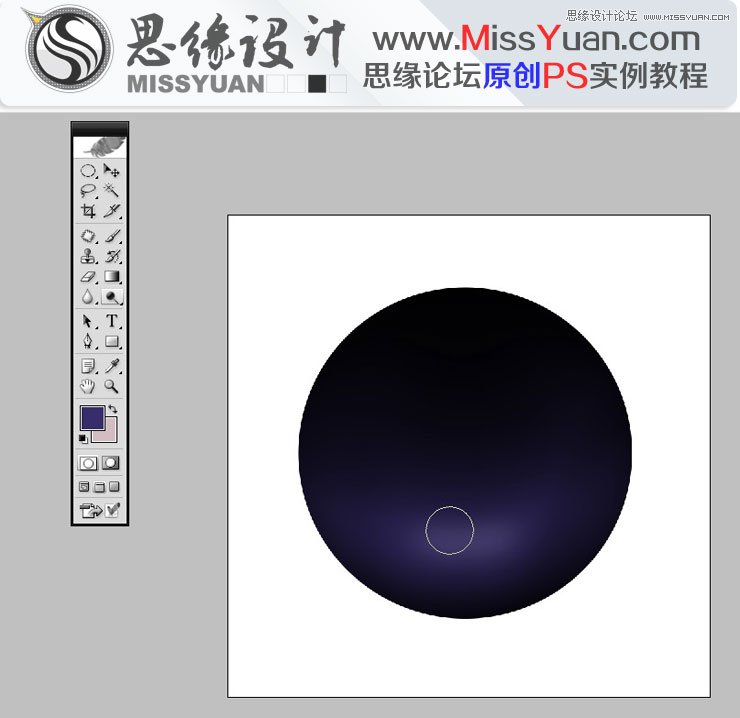
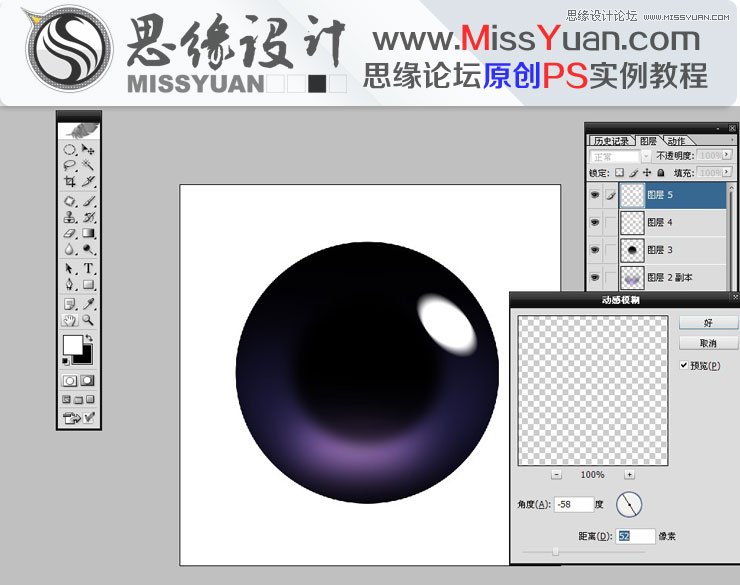
23.建立圆圈选区给20个羽化填充成黑色
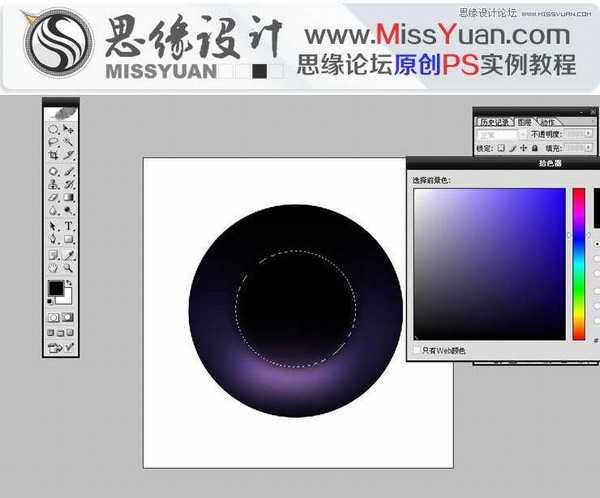
24.填充一个白色选区,我们执行动感模糊制造眼神光,眼神光的制造是为了让眼睛更有神
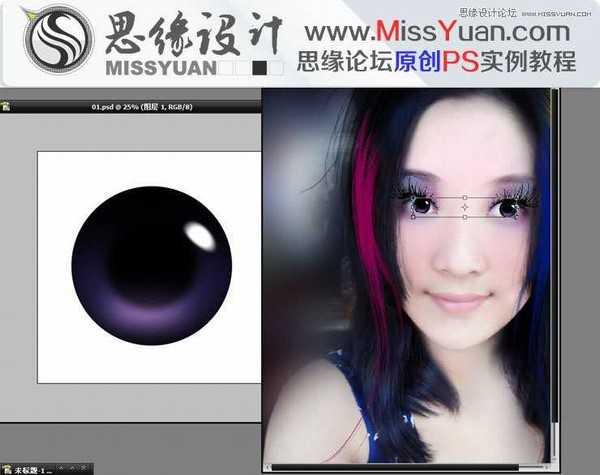
25.把制造好的颜色拖入人物当中调整好位置
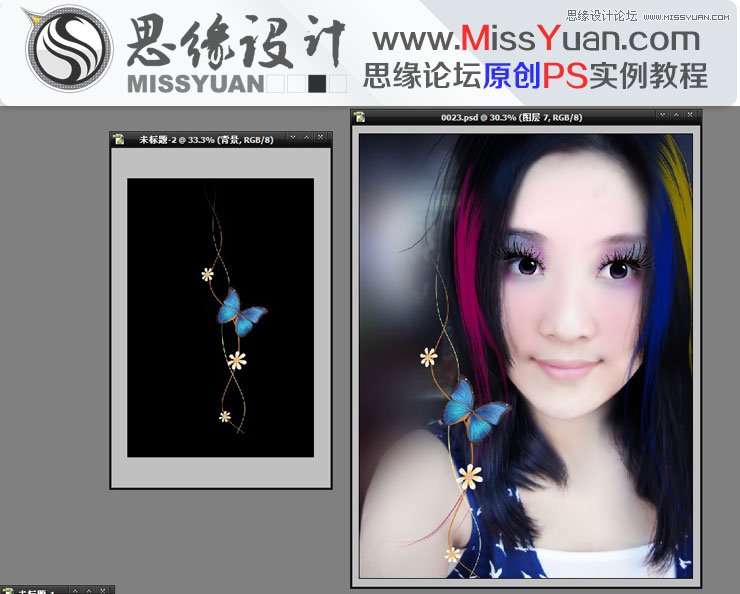
26.把事先拼凑好的蝴蝶花纹素材拖入其中,调整好位置
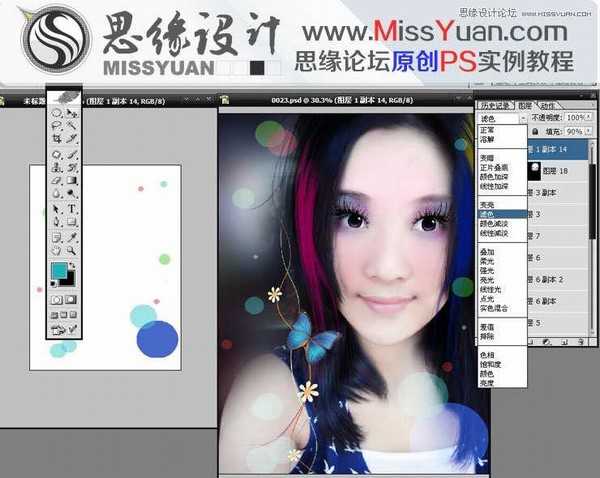
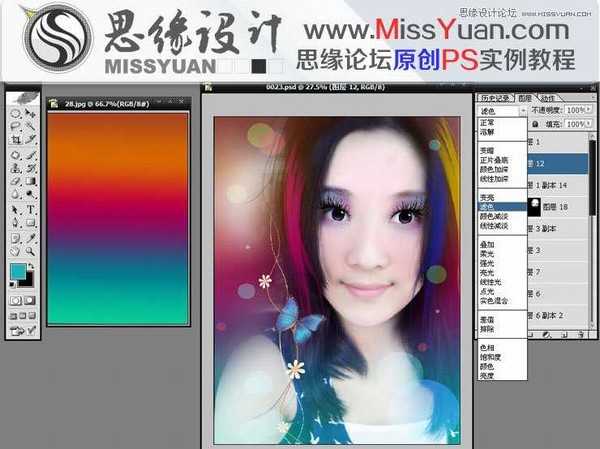
27.色斑素材拖入其中正常模式调整成滤色增加梦幻感
28.单建立一个图层打开渐变编辑器建立几个色标选择你想要的颜色过度调整好渐,变出想要的颜色。
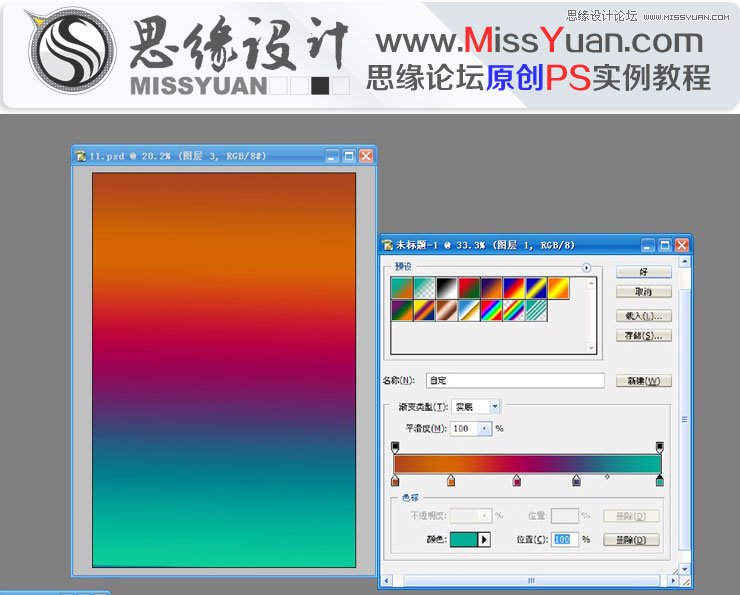
29.素材拖入其中把正常模式调整成滤色,制造梦幻感觉
30.最后加一个白边效果图就做出来了
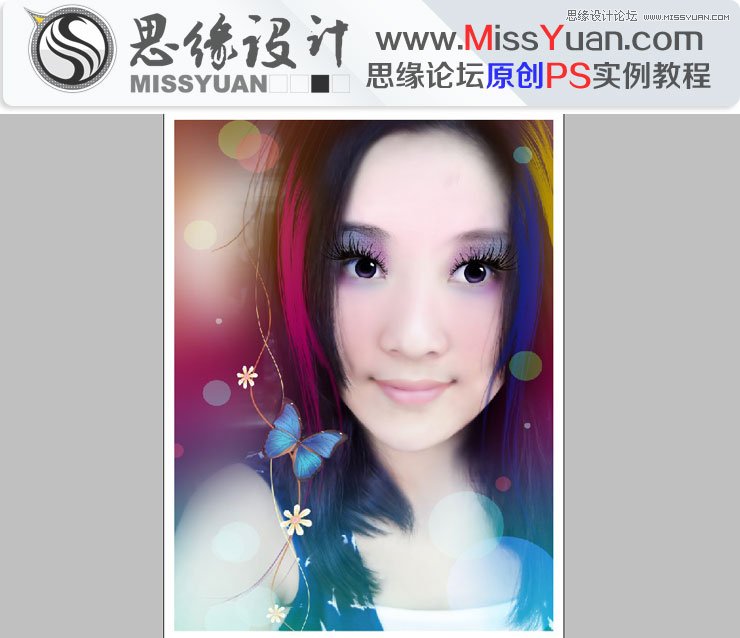
先看看效果图
制作类似于手绘的效果注意:尽量选择正面头像五官清晰的图片,光线不要太昏暗,尽量露出额头尽量不要选择,表情张和带饰品的图像哦。这样对制作会造成很大阻碍。
先看看效果图
下面是原图
1.打开降噪工具选择一块皮肤不好的地方按F9对照片进行细腻光滑修饰用这个插件时候注意把眉毛眼睛...细节擦拭出来哦。
2.把人物脖子的红绳饰品去掉杂乱的东西,用图章把皮肤修细腻光滑,这样会更接近手绘的效果哦。
3.为了整体效果我们把背景比较乱的地方用高斯模糊把背景模糊了,这样背景就不会太抢眼中心就放在人物上了。
4.用钢笔勾出头发路径,注意流畅是关键 建立一个空图层选择用画笔描边路径勾画头发路时候一定要细比例协调调整到完美。
5. 我们把黑色的头发填充成红色 蓝色 黄色调整好比例用橡皮擦拭一下让头发的层次流畅一些。
6.用钢笔勾出睫毛路径建立一个空图层选择用画笔描边路径把睫毛托进去,调整好倾斜位置。
7.把事先做好的头发拖入其中调整好位置。
8.把嘴唇用钢笔勾出来,用图章把唇纹修饰掉更接近手绘的效果。
9.我们打开画笔工具选择适合的(画笔PS自带)进行眼影的制作。
10.我们选择色板选择蓝颜色用画笔画出来,重复复制出自己想要的效果
11.选择色相饱和度把局部调整成粉红色
12把制作好的眼影素材拖到眼睛部位建立一个反选隐藏蒙版A/T+l+k+h
13.用画笔工具把事先隐藏眼影素材擦拭出来自己想要的效果,注意眼影的过度要真实自然哦。
14.复制出来一个眼影把位置调整好位置
15.填充出淡紫色和淡蓝色拖到人物眼睛下用橡皮擦拭出来过度效果。
16.用套索工具在脸部画出曲线用曲线工具压暗调整好颜色压暗提红吧腮红弄成粉红色这样人物显得更可爱。
17.在人物脸部填充一个色块正常模式调整成滤色建立一个反选隐藏蒙版A/T+l+k+h
18.用画笔工具擦拭出来脸部的颜色把人物脸的颜色擦拭成粉红色。
19.用画圆工具划出一个黑色的圆我们开始做眼睛。
20.我们建立一个选区给20个羽化填充成蓝色。
21.在用橡皮把边缘擦拭干净调整好过度。
22.用简单工具在蓝色图层中心减淡调整自己想要的效果。
23.建立圆圈选区给20个羽化填充成黑色
24.填充一个白色选区,我们执行动感模糊制造眼神光,眼神光的制造是为了让眼睛更有神
25.把制造好的颜色拖入人物当中调整好位置
26.把事先拼凑好的蝴蝶花纹素材拖入其中,调整好位置
27.色斑素材拖入其中正常模式调整成滤色增加梦幻感
28.单建立一个图层打开渐变编辑器建立几个色标选择你想要的颜色过度调整好渐,变出想要的颜色。
29.素材拖入其中把正常模式调整成滤色,制造梦幻感觉
30.最后加一个白边效果图就做出来了
先看看效果图