Photoshop鼠绘清爽的卡通美女插画
(编辑:jimmy 日期: 2026/7/11 浏览:2)
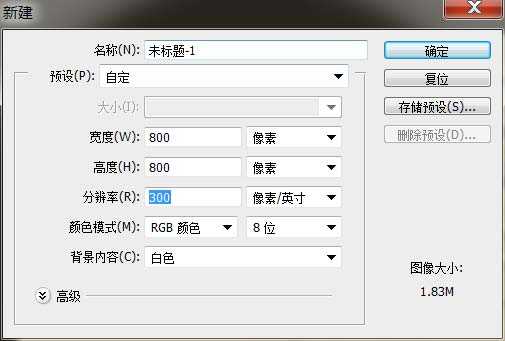
打开Photoshop,创建新的文档
这个时候我们把素材背景置入,调整合适的大小。
顺便给它提高点亮度。

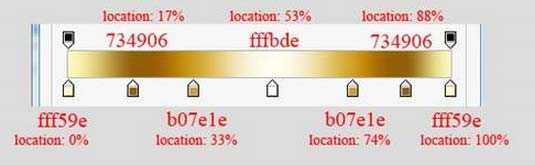
创建一个圆角矩形(快捷键U)700px*550px =40px的半径。填充颜"492" width="532" border="1" src="/UploadFiles/2021-04-17/201306211738036.jpg"> 第4步:
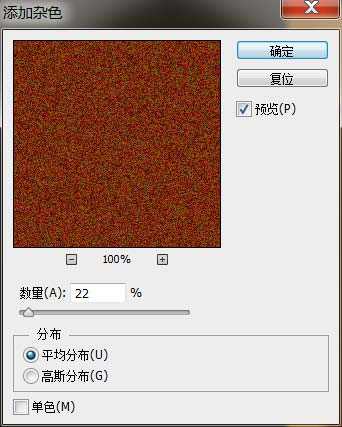
现在滤镜>杂色>添加杂色
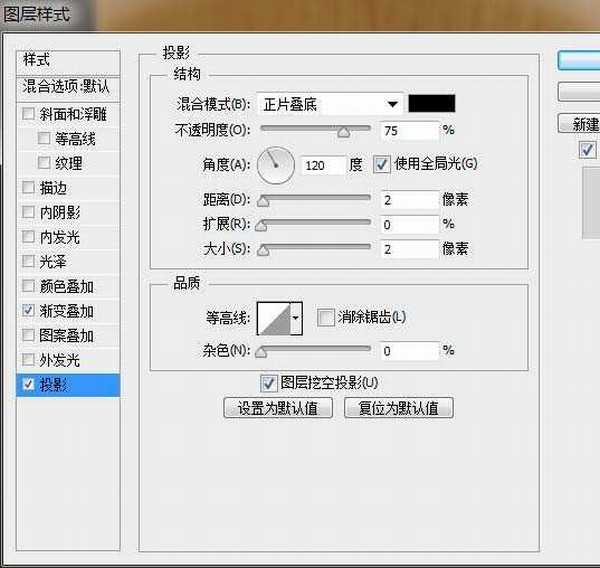
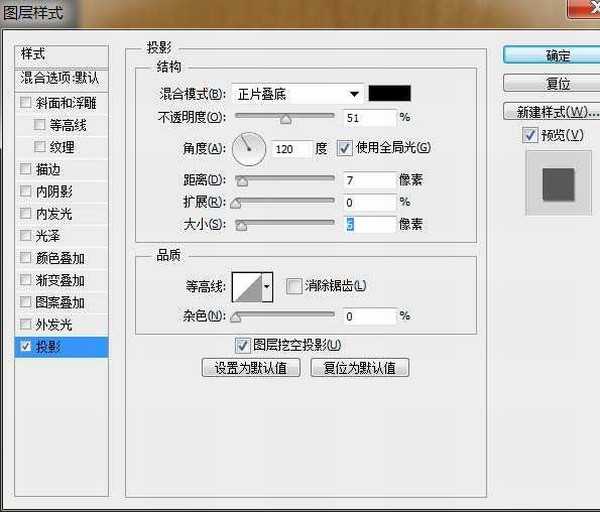
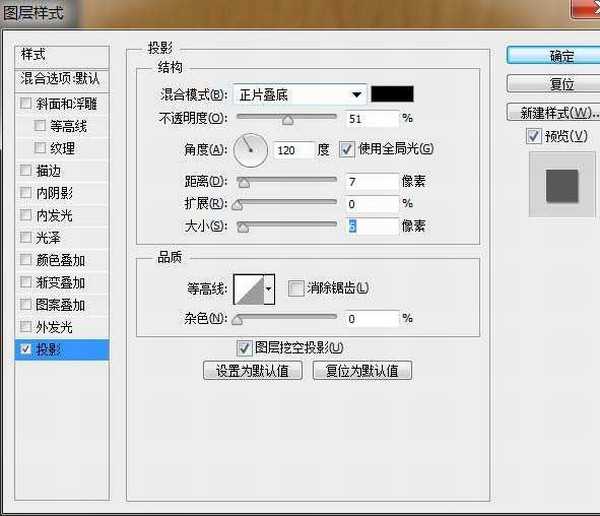
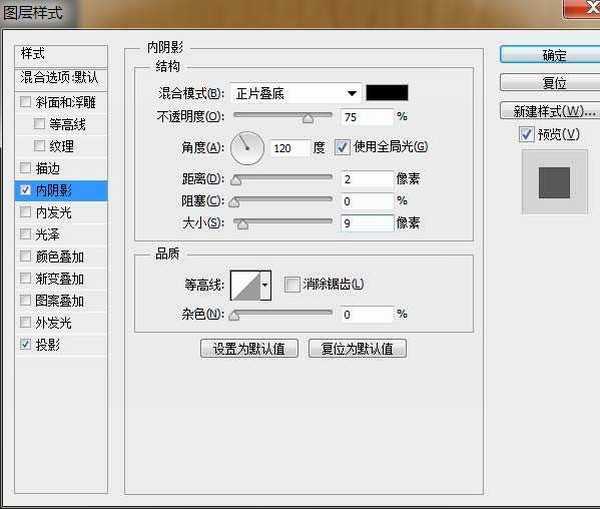
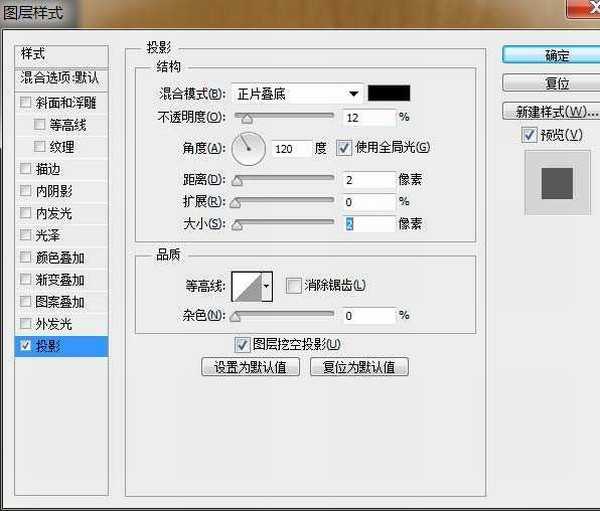
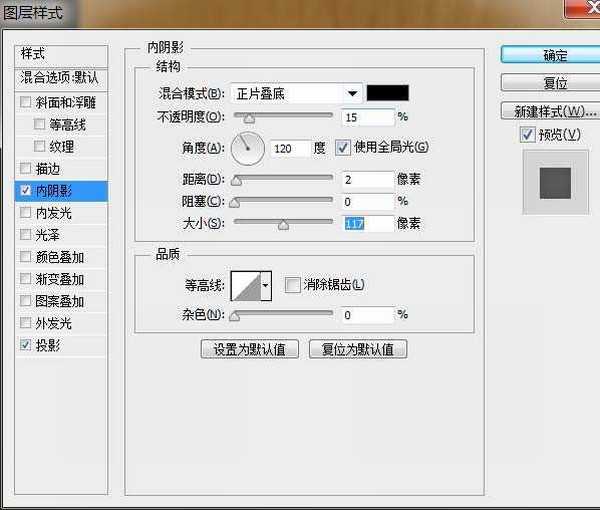
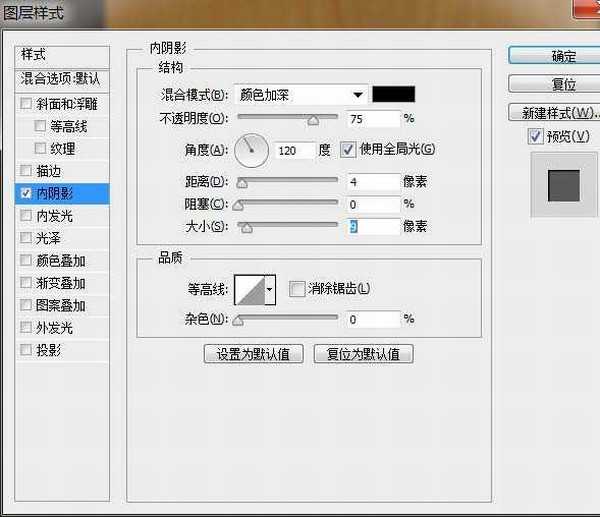
然后右键点击混合选项>投影
接下来,我们创建了第二个圆角矩形(快捷键U)690Px 540px = 40px的半径。填充颜"532" width="540" border="1" src="/UploadFiles/2021-04-17/201306211738039.jpg"> 第7步:
复制圆角矩形图层2,颜色填充 # 742b00,然后Ctrl+T调整适当的位置,
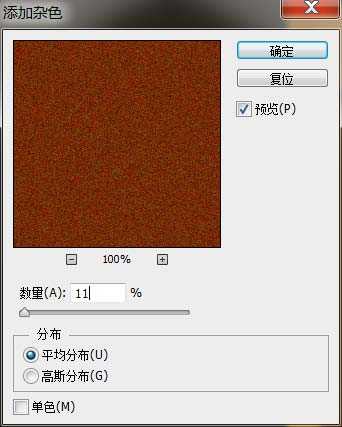
滤镜—杂色—添加杂色。
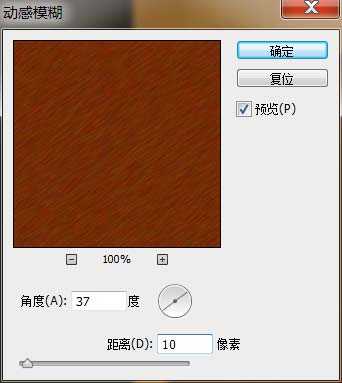
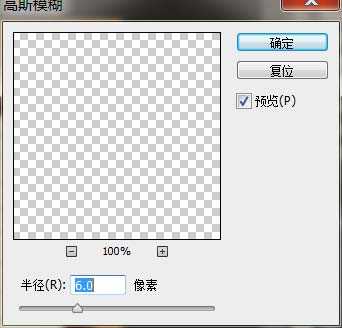
滤镜—模糊—动感模糊。
第9步:
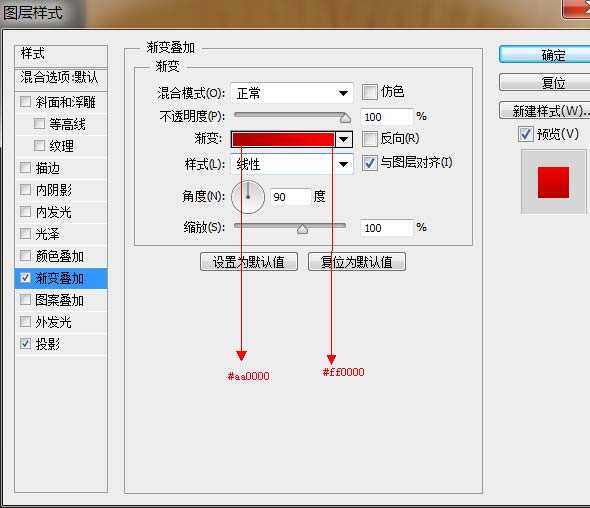
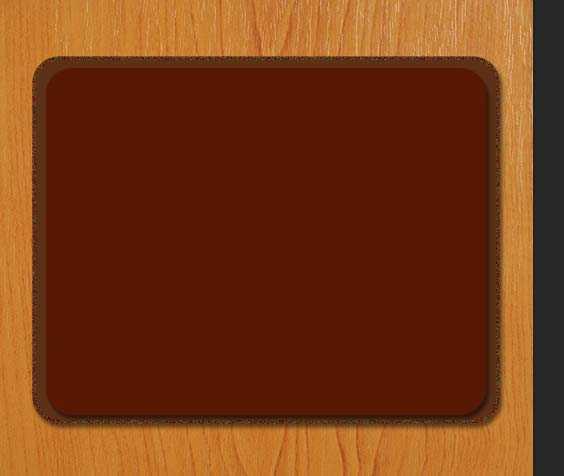
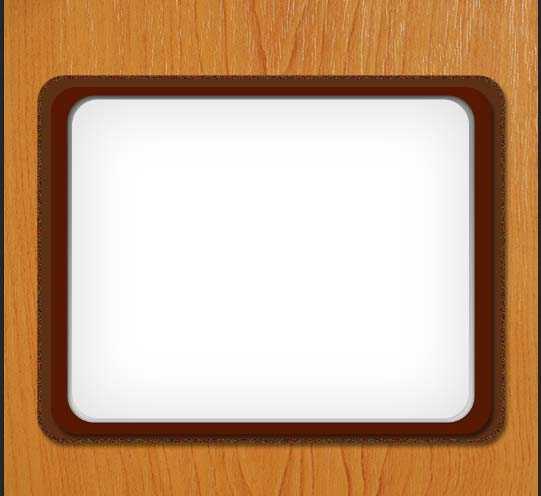
接下来,我们创建第四个圆角矩形,固定的尺寸是660 px x 520 px,填充颜色# 571803,添加图层样式
现在,我们在来创建一个圆角矩形,固定的尺寸是610 px x 490 px,填充颜色# ffffff。
第11步:
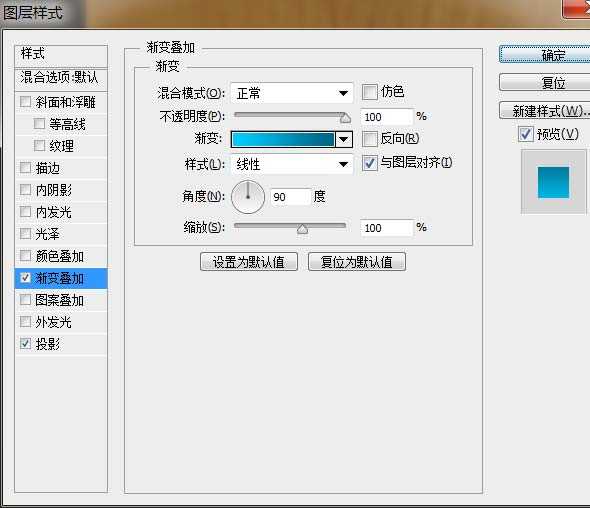
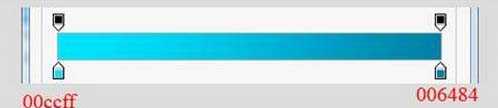
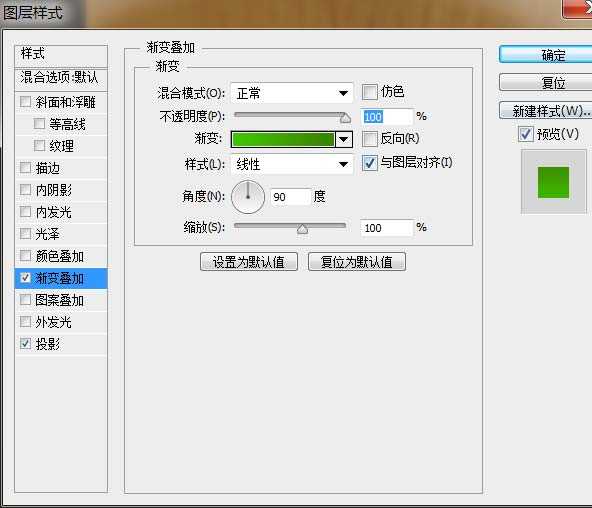
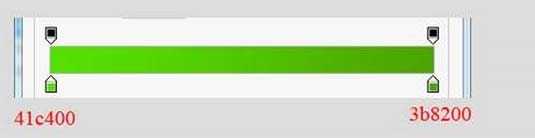
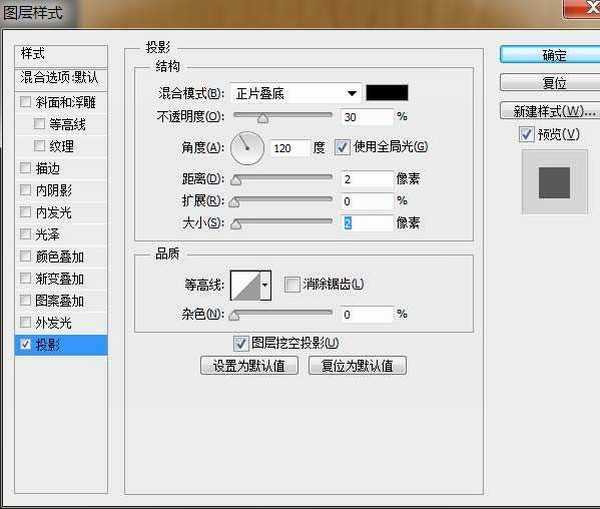
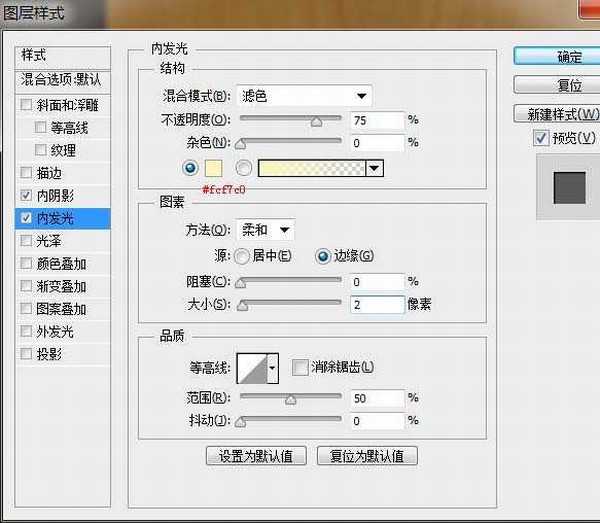
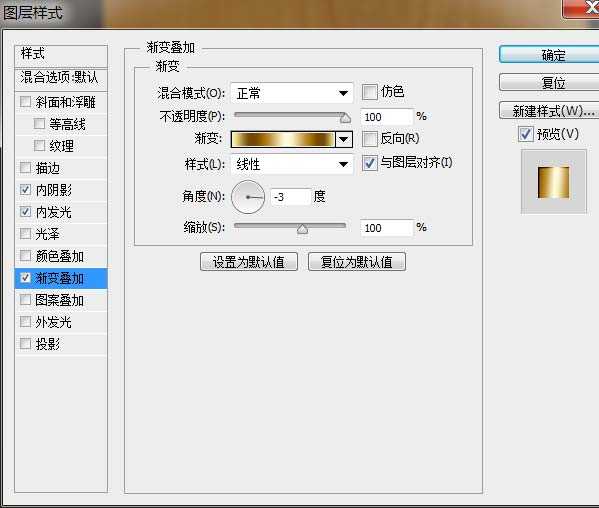
我们来给它添加图层样式。
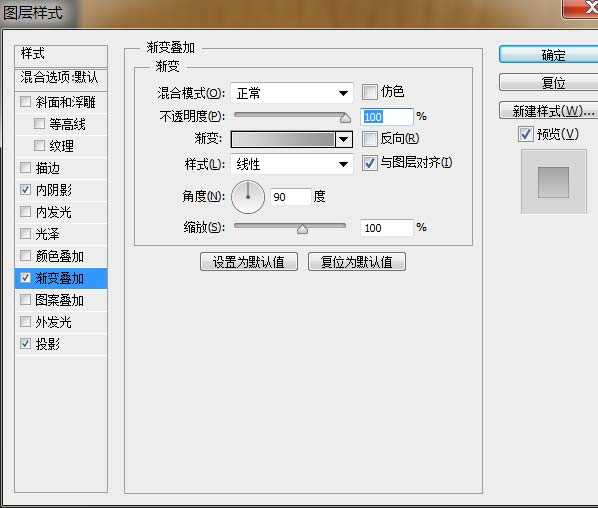

接下来创建下一个圆角矩形,尺寸是610 px x 490 px,填充颜色# ffffff。我们的名字这一层为“纸”
给它来添加图层样式。
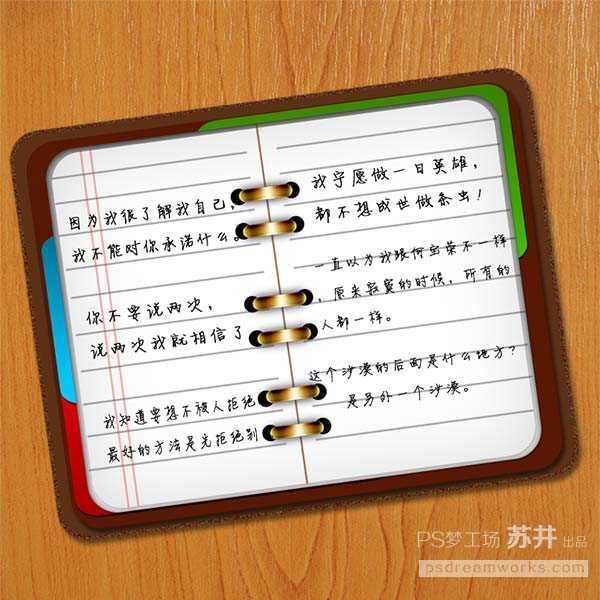
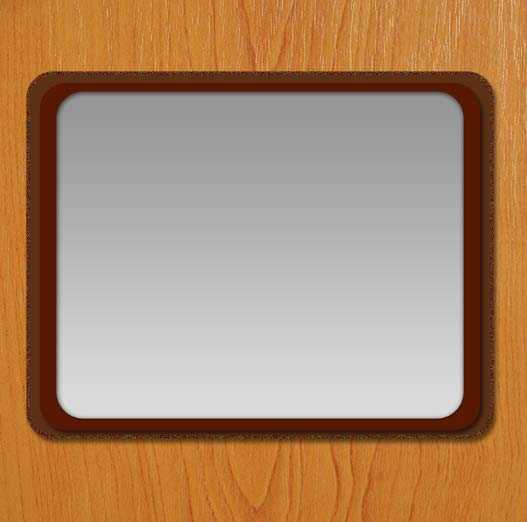
这是结果。
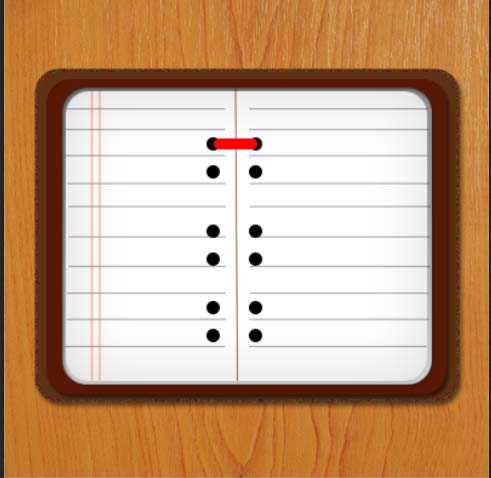
接下来,我们创建新图层并命名为“中间线”,我们设置的硬笔刷(快捷B)与大小2 px和设置前景颜色# 742 b00,然后选择钢笔工具(快捷键P)和创建一个垂直的线在中间的“纸张”层。右键,选择“描边路径”
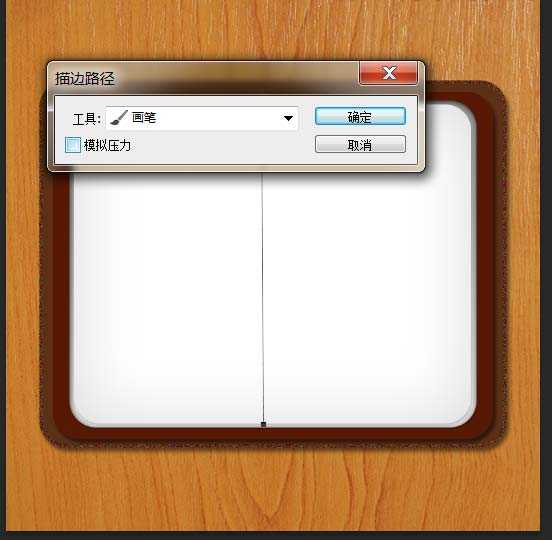
这个时候我们可以建立参考线试着做。
第14步:
接下来,我们选择椭圆工具画一圈颜色为# 000000的椭圆。
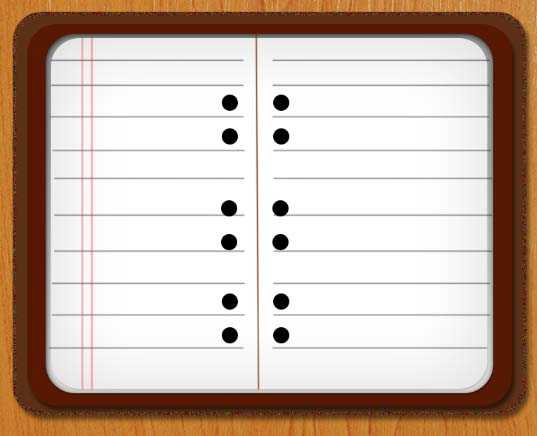
现在我们给它添加图层样式。
这是结果。
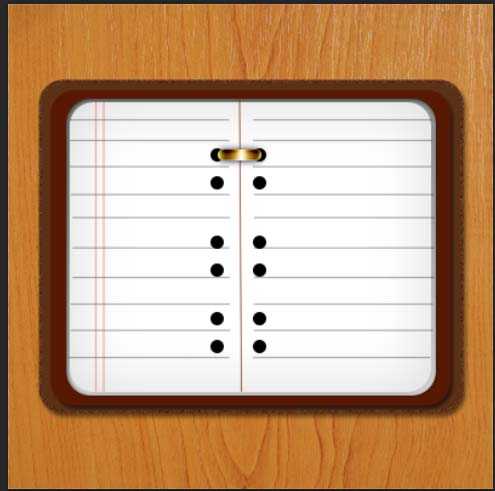
第16步:
接下来,我们创建一个小圆角矩形半径= 40,我们将其命名为“红书签”,把它放在“白色图层”下面。并添加这些图层样式