Photoshop 打造天语音乐年度盛典海报
(编辑:jimmy 日期: 2026/7/11 浏览:2)
先看一下最终效果:

素材:
1.新建一个文件,参数如图1所示。
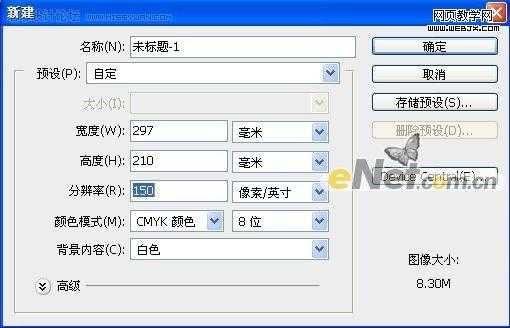
图1
2.选择“渐变工具”设置渐变参数如图2所示,然后从画布上往下拖拽得到如图3所示效果。
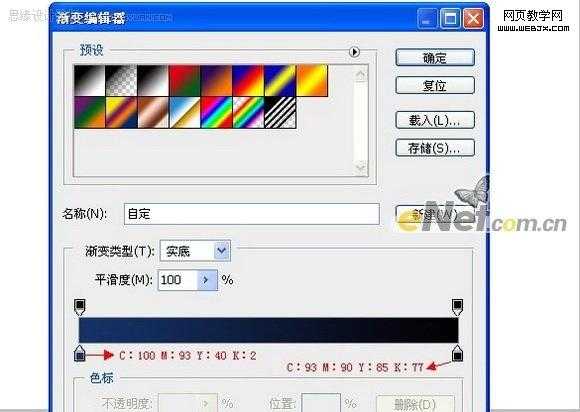
图2

图3
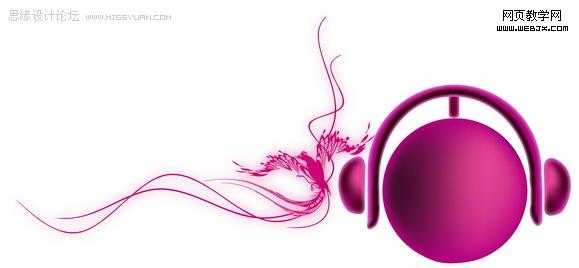
3.打开“素材1”如图4所示,用移动工具移动到画布上,利用自用变换工具设置其大小和位置,得到如图5所示效果。
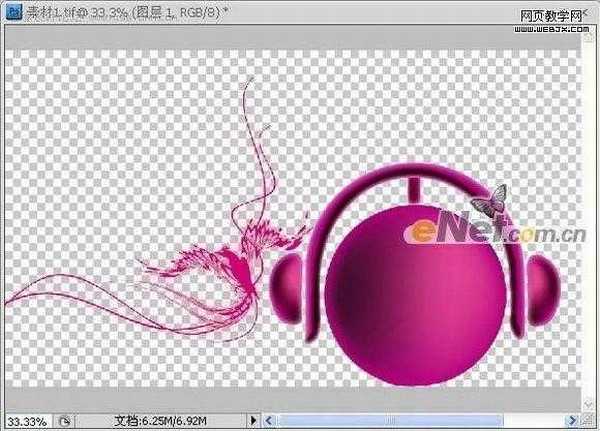
图4
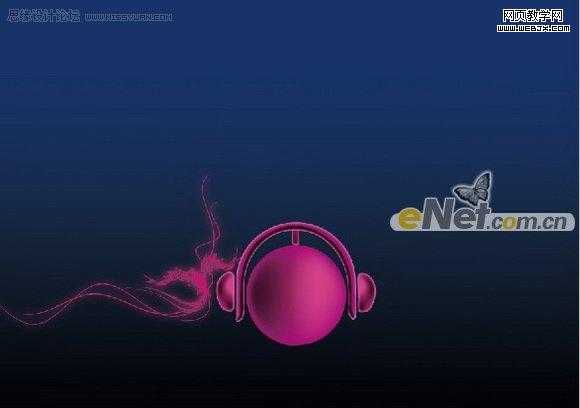
图5
4.打开素材面板,复制图层1,利用自用变换工具,水平翻转图像,重合中间相同的部分,得到对称的图形,如图6所示效果。
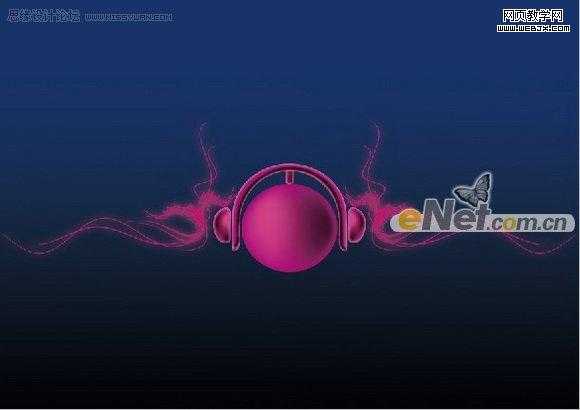
图6
5.输入四个层的文字“天语音乐”,如图7所示。然后摆放成如图8所示效果。
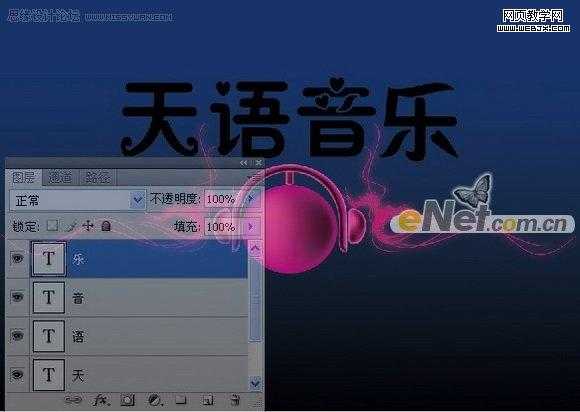

图8
6.选择天语音乐四个图层,然后点击右键,在弹出的菜单中选择“栅格化文字”,图层状态如图9所示。
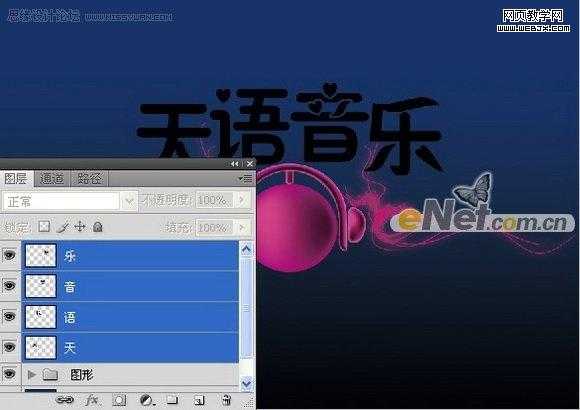
图9
上一页12 下一页 阅读全文
素材:
1.新建一个文件,参数如图1所示。
图1
2.选择“渐变工具”设置渐变参数如图2所示,然后从画布上往下拖拽得到如图3所示效果。
图2
图3
3.打开“素材1”如图4所示,用移动工具移动到画布上,利用自用变换工具设置其大小和位置,得到如图5所示效果。
图4
图5
4.打开素材面板,复制图层1,利用自用变换工具,水平翻转图像,重合中间相同的部分,得到对称的图形,如图6所示效果。
图6
5.输入四个层的文字“天语音乐”,如图7所示。然后摆放成如图8所示效果。
图8
6.选择天语音乐四个图层,然后点击右键,在弹出的菜单中选择“栅格化文字”,图层状态如图9所示。
图9
上一页12 下一页 阅读全文