photoshop 合成颓废绚丽的舞者
(编辑:jimmy 日期: 2026/7/11 浏览:2)
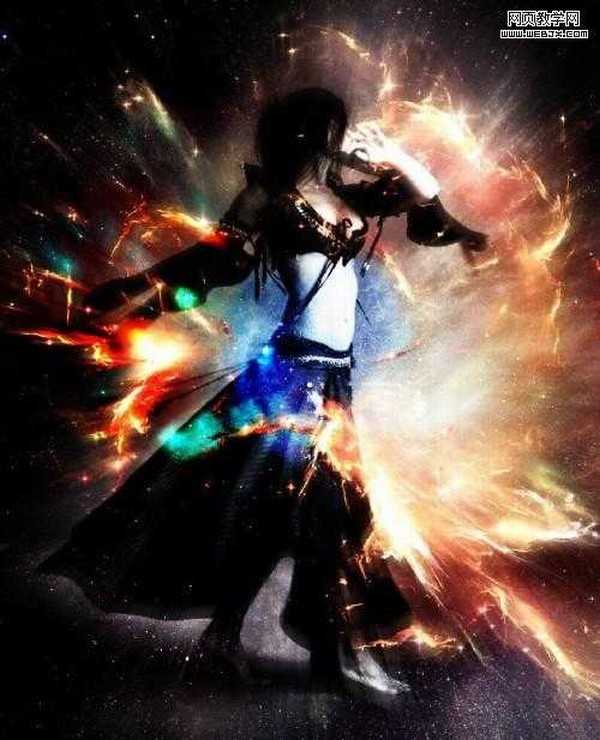
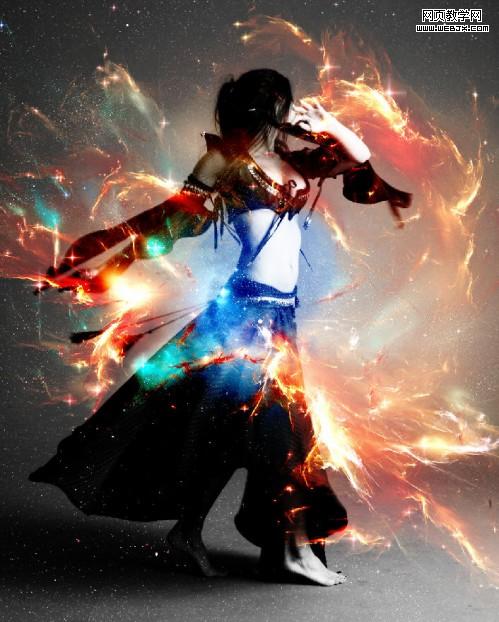
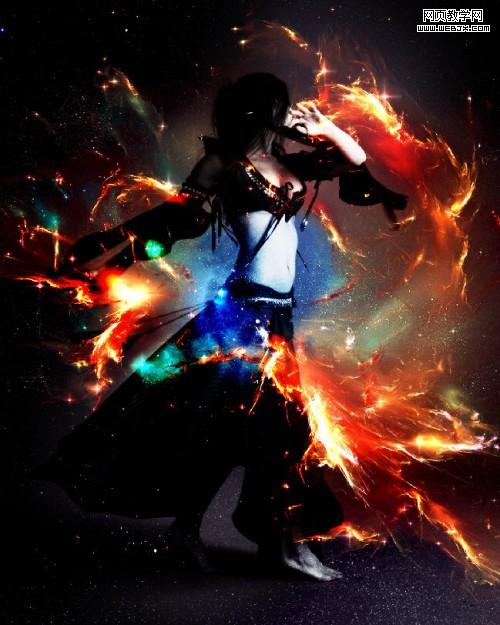
最终效果1
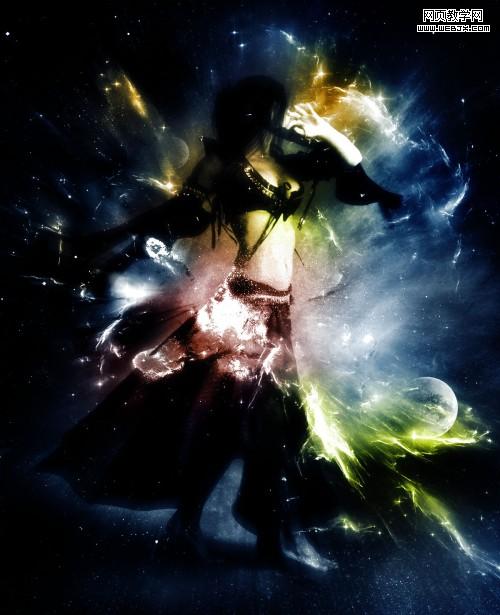
最终效果2
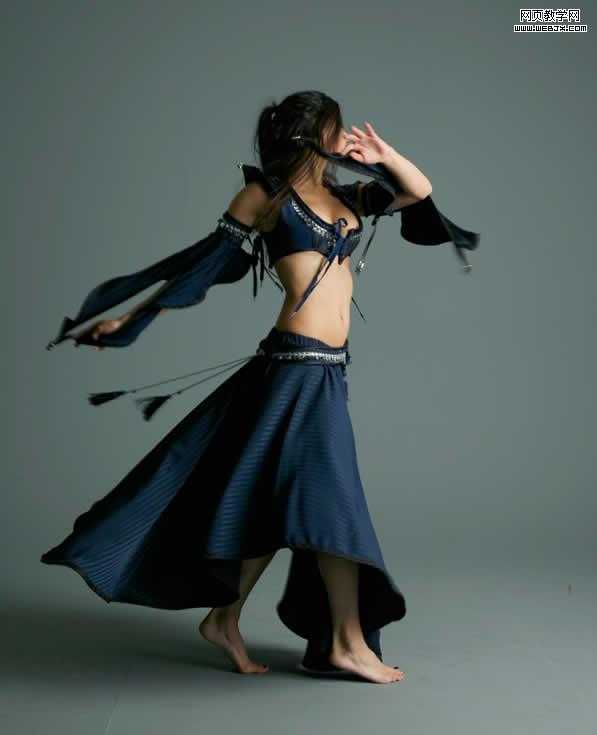
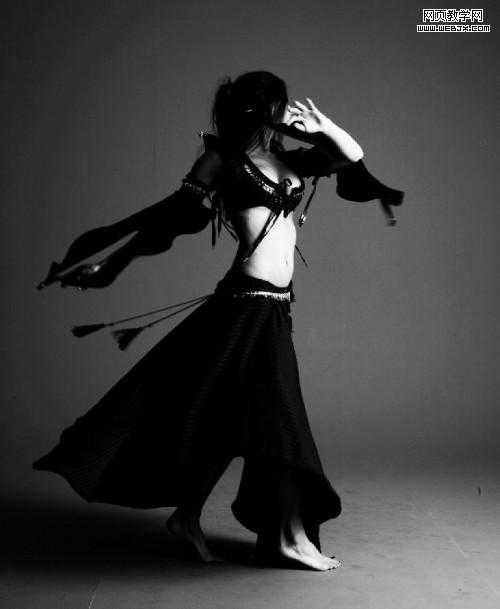
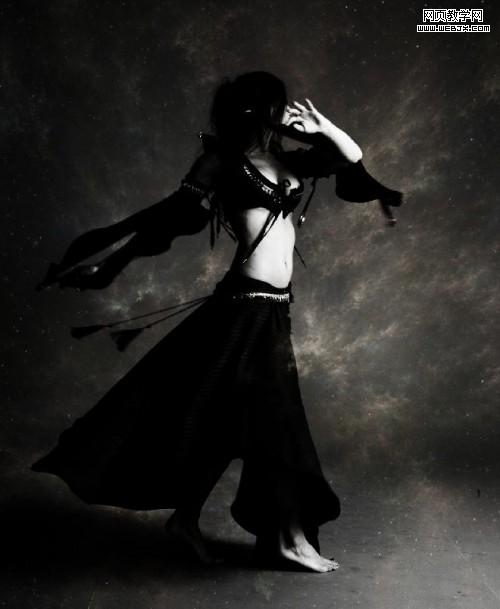
 1、打开舞者图片,调整大小到合适,然后复制背景层,按Ctrl + Alt + Shift + B并且用Black and White 调整。
 2、该图层命名为“black and white”,然后复制两次这个图层,并且把两个图层的模式都调整为Hard Light(强光)模式,得到的效果如下。
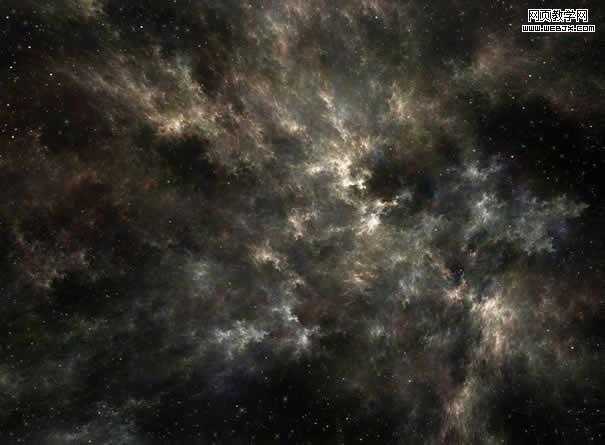
3、用Photoshop打开第一个素材图,拷贝然后粘贴到当前文档中,我们命名该图层为 “nebula texture 1″。然后按CTRL+T,重新设置该图片的大小的图层混合模式,之后我们创建“nebula texture 1”层的粘贴蒙板。
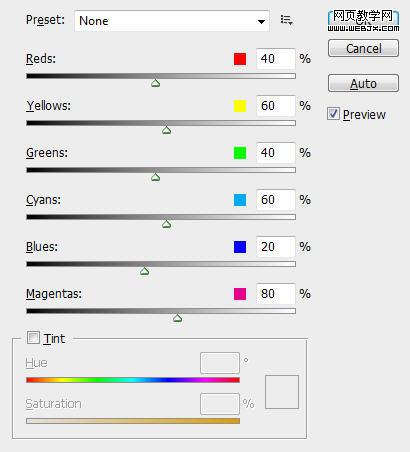
4、下面我们添加一些调整层。
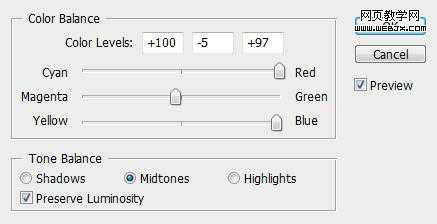
色彩平衡:
 色阶:
色阶:
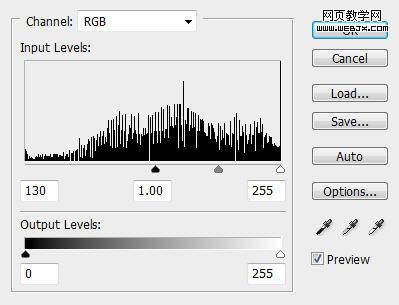
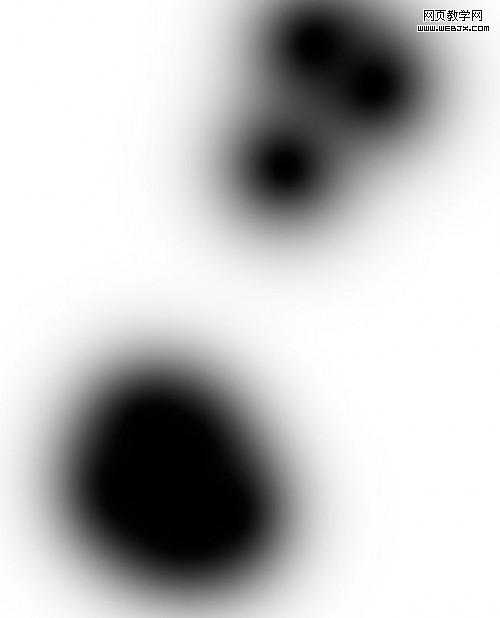
在这个色阶调整层中我们应用下面的图层蒙板。
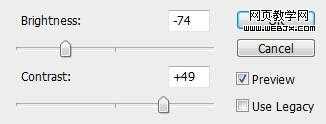
亮度/对比度:
这时效果:
 5、再用Photoshop打开第二个素材图片,复制粘贴,然后按CTRL+T旋转。命名该层为nebula texture 2 层,设置模式为柔光。
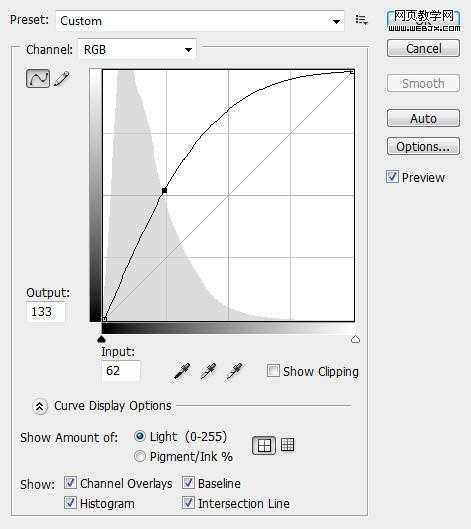
6、我们添加一个曲线调整层。
 上一页12 下一页 阅读全文
最终效果2
1、打开舞者图片,调整大小到合适,然后复制背景层,按Ctrl + Alt + Shift + B并且用Black and White 调整。 2、该图层命名为“black and white”,然后复制两次这个图层,并且把两个图层的模式都调整为Hard Light(强光)模式,得到的效果如下。 3、用Photoshop打开第一个素材图,拷贝然后粘贴到当前文档中,我们命名该图层为 “nebula texture 1″。然后按CTRL+T,重新设置该图片的大小的图层混合模式,之后我们创建“nebula texture 1”层的粘贴蒙板。
4、下面我们添加一些调整层。
色彩平衡:
色阶: 在这个色阶调整层中我们应用下面的图层蒙板。
亮度/对比度:
这时效果:
5、再用Photoshop打开第二个素材图片,复制粘贴,然后按CTRL+T旋转。命名该层为nebula texture 2 层,设置模式为柔光。 6、我们添加一个曲线调整层。
上一页12 下一页 阅读全文