Photoshop 人物与模板的合成艺术照片
(编辑:jimmy 日期: 2026/7/11 浏览:2)
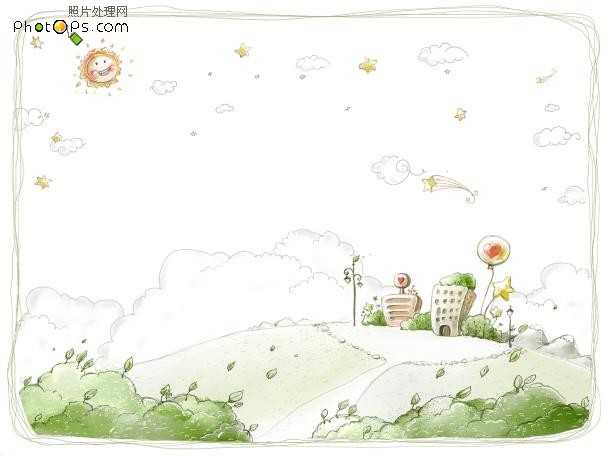
背景素材
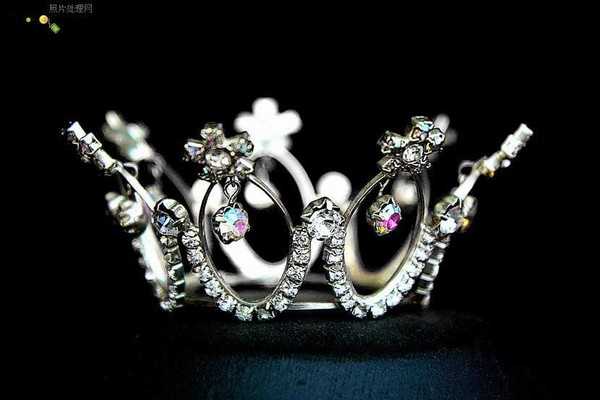
皇冠素材
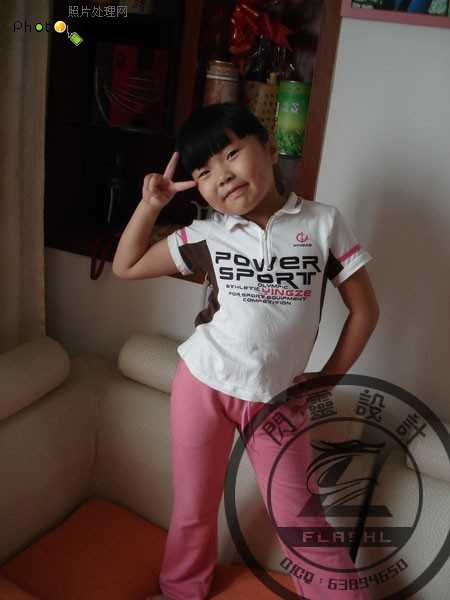
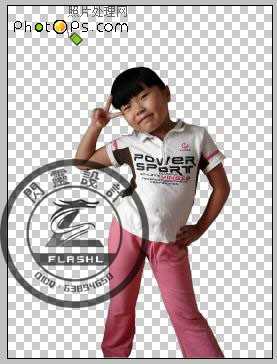
人物素材


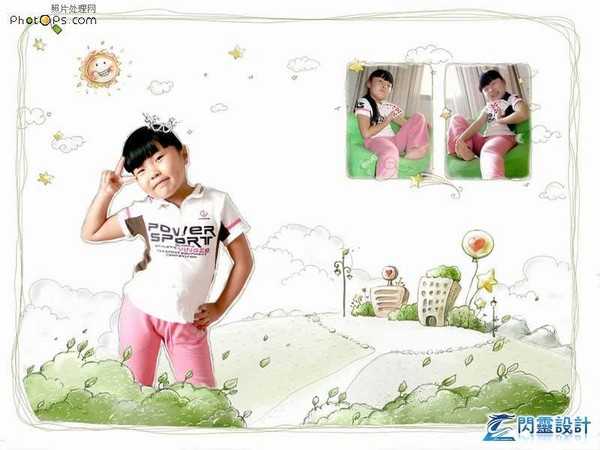
效果
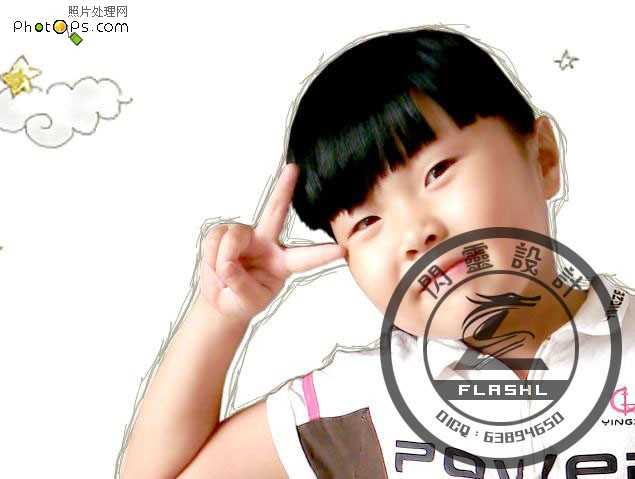
首先打开主图,进行细致的抠图,抠图方法很多,我就不一一介绍了,我还是用的最原始的钢笔抠图,效果比较好,就是有点
然后我们打开事先准备好的素材背景,将人物导入进来。
大家可以看到,导入进来的图片,比较灰暗,那么我们下一步做的应该是将图片调节的亮一些用ctrl+L,或者ctrl+M
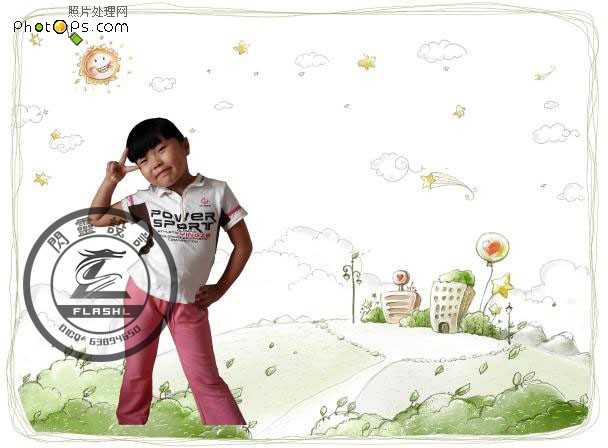
调节好以后,基本上图片和任务就比较自然了,然后我们在右上角选个合适的位置放小图片
图片边框可以直接利用背景图的边框即可
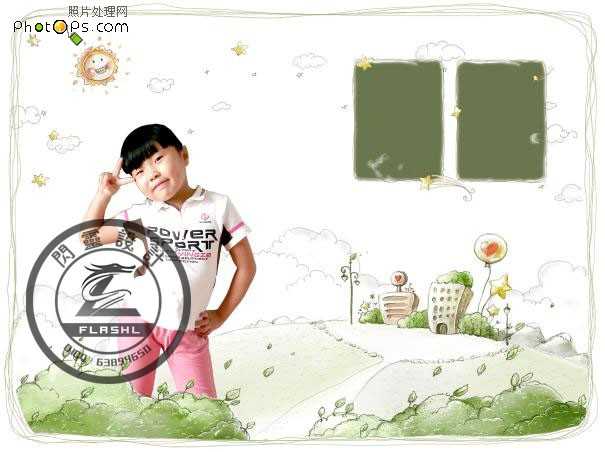
放大看看效果,边框一样反而显得协调,自己画又麻烦效果也不见得
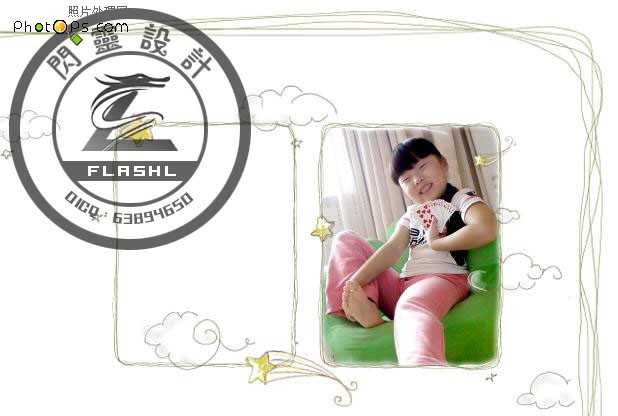
然后为了使得主图更符合这个背景图片的风格,我们模仿背景图的线条,用铅笔工具,选取相近的颜色,对着人物边缘进行勾勒
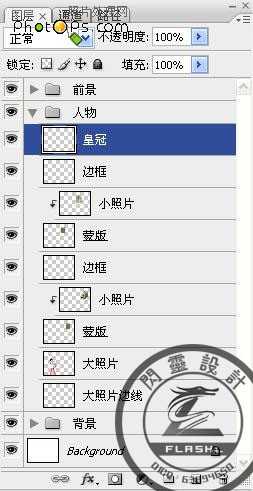
这是我的所有图层,我为了让大家清楚,已经用文件夹和中文名注释好了
皇冠素材
人物素材
效果
首先打开主图,进行细致的抠图,抠图方法很多,我就不一一介绍了,我还是用的最原始的钢笔抠图,效果比较好,就是有点
然后我们打开事先准备好的素材背景,将人物导入进来。
大家可以看到,导入进来的图片,比较灰暗,那么我们下一步做的应该是将图片调节的亮一些用ctrl+L,或者ctrl+M
调节好以后,基本上图片和任务就比较自然了,然后我们在右上角选个合适的位置放小图片
图片边框可以直接利用背景图的边框即可
放大看看效果,边框一样反而显得协调,自己画又麻烦效果也不见得
然后为了使得主图更符合这个背景图片的风格,我们模仿背景图的线条,用铅笔工具,选取相近的颜色,对着人物边缘进行勾勒
这是我的所有图层,我为了让大家清楚,已经用文件夹和中文名注释好了