photoshop合成唯美的水上芭蕾
(编辑:jimmy 日期: 2026/7/12 浏览:2)
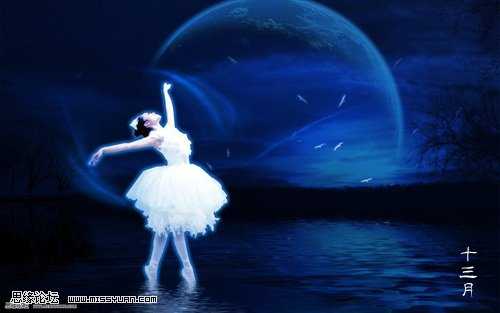
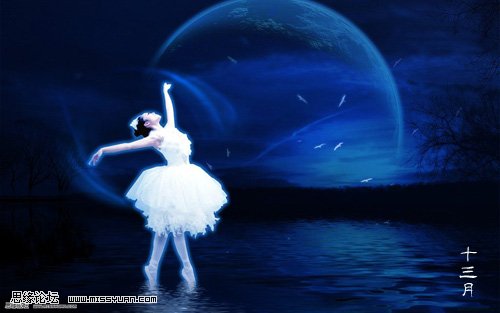
最终效果
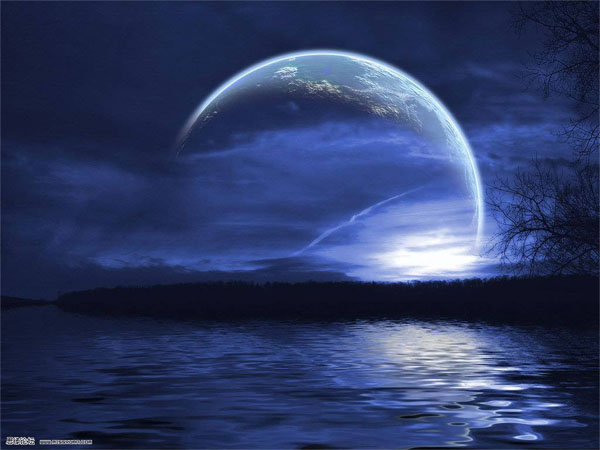
1、新建一个大小自定的文档,背景拉上蓝色至深蓝渐变,打开下图所示的素材,拖进来,适当调整位置和大小,然后把图层混合模式改为“正片叠底”。
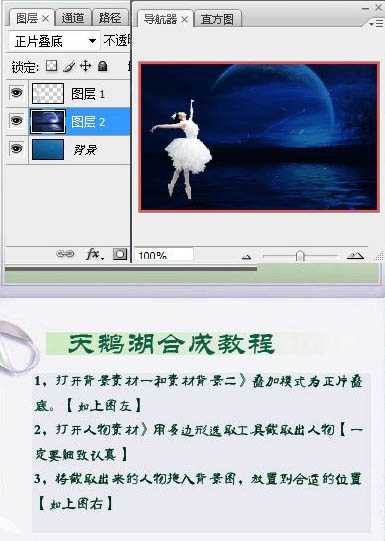
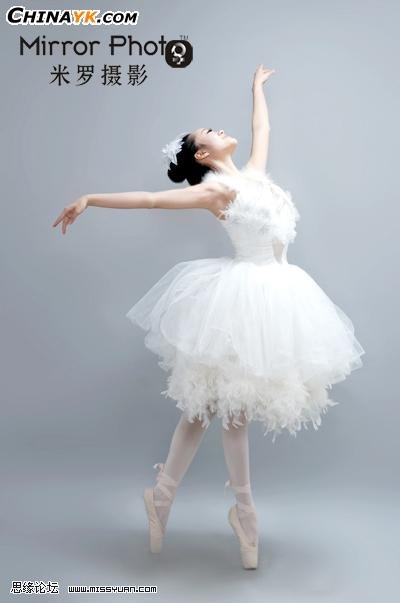
2、打开下图所示的人物素材,用多边形选取工具把人物部分抠出来。
3、把抠出的人物复制进来,放置到合适的位置。
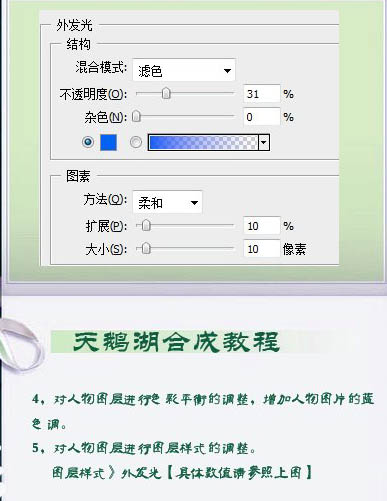
4、按Ctrl + B 对人物调整色彩平衡,适当调蓝一点。
5、对人物执行:图层 > 图层样式 > 外发光,参数设置如下图。
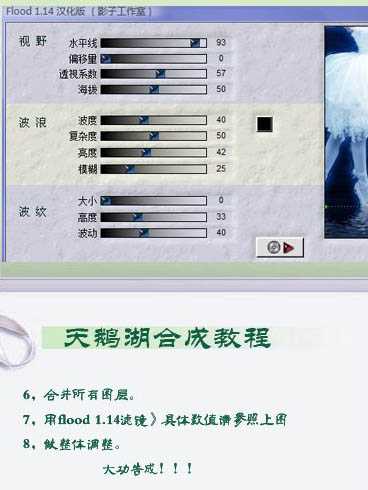
6、新建一个图层,按Ctrl + Alt + Shift + E 盖印图层,利用外挂滤镜Flood加上一些水纹效果,没有这款滤镜的可以去网上下载,参数设置如下图。
最后调整一下细节,完成最终效果。
1、新建一个大小自定的文档,背景拉上蓝色至深蓝渐变,打开下图所示的素材,拖进来,适当调整位置和大小,然后把图层混合模式改为“正片叠底”。
2、打开下图所示的人物素材,用多边形选取工具把人物部分抠出来。
3、把抠出的人物复制进来,放置到合适的位置。
4、按Ctrl + B 对人物调整色彩平衡,适当调蓝一点。
5、对人物执行:图层 > 图层样式 > 外发光,参数设置如下图。
6、新建一个图层,按Ctrl + Alt + Shift + E 盖印图层,利用外挂滤镜Flood加上一些水纹效果,没有这款滤镜的可以去网上下载,参数设置如下图。
最后调整一下细节,完成最终效果。