photoshop合成梦幻的海上明月
(编辑:jimmy 日期: 2026/7/12 浏览:2)
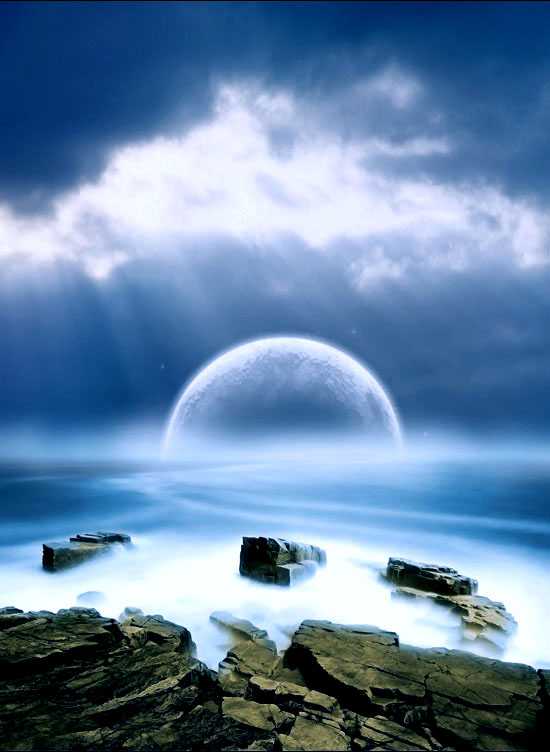
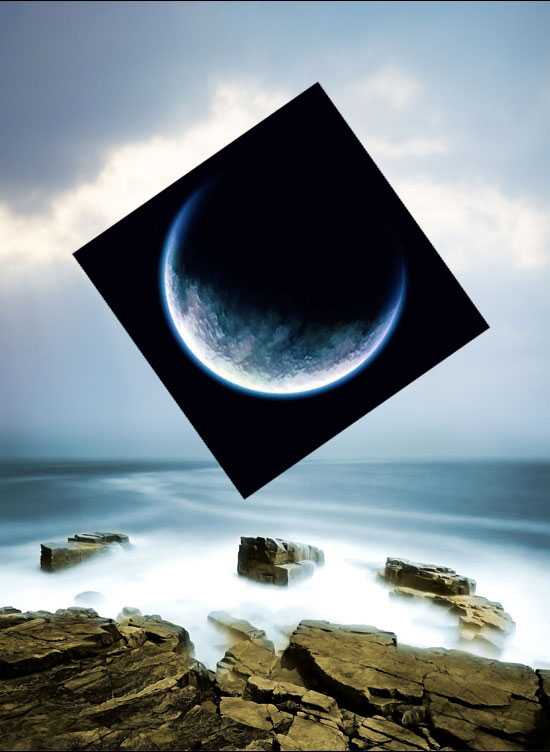
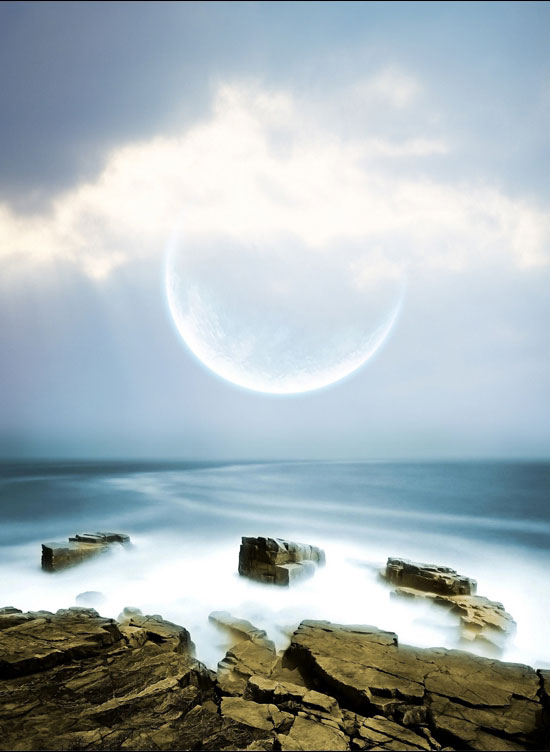
最终效果
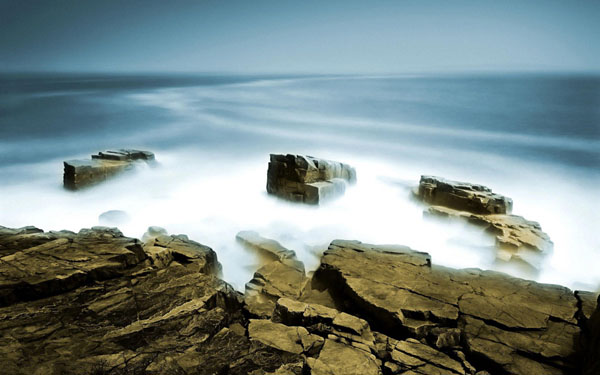
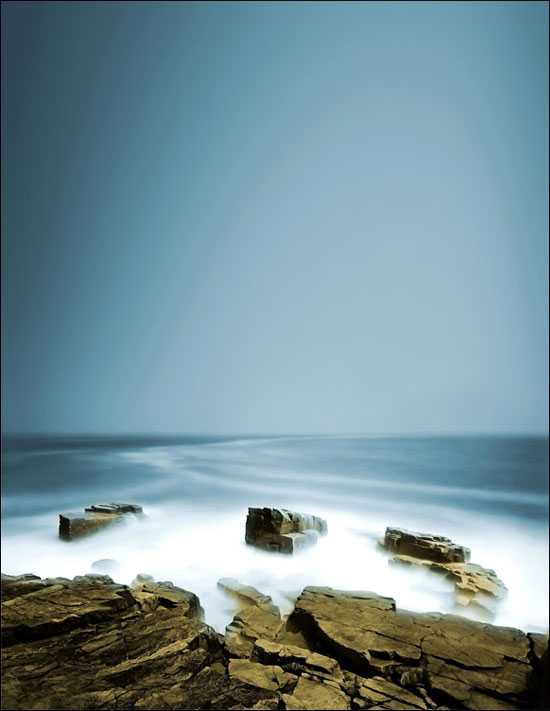
1、我们先创建一个600X750的画布,然后把背景放到图层最下面。
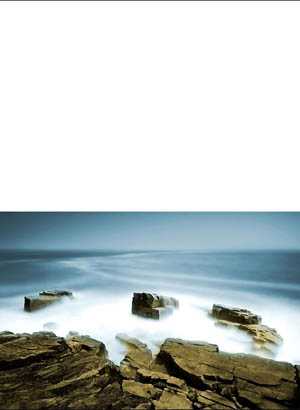
2、用矩形选取工具,把背景图上方的一部分选取,下图标了红色框的按CTRL+J复制图层,然后CTRL+T把它拉到画布顶端。
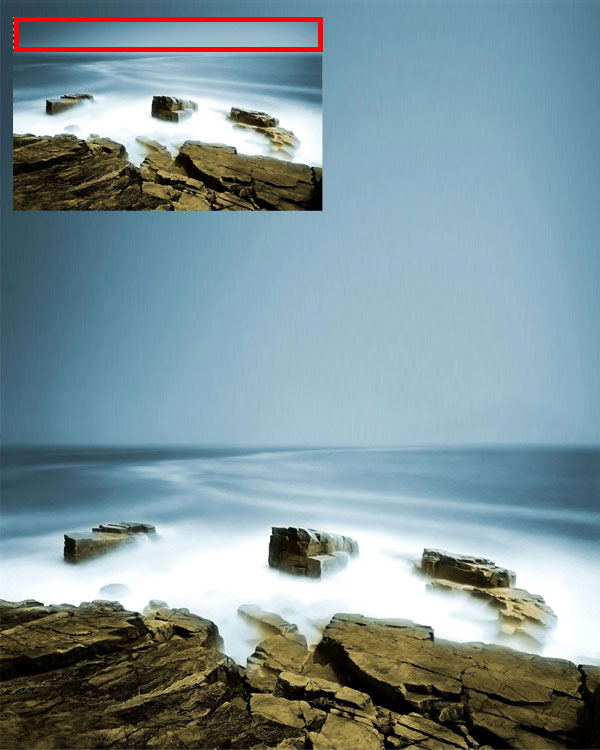
3、稍微的使用高斯模糊,让2张图的连接处可以更加容易融合。
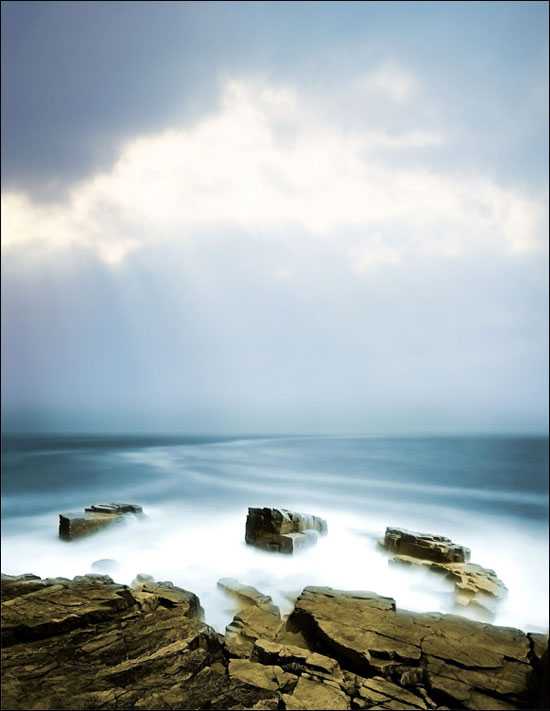
4、这时候我们加入天空图片,把下面那一截图按照上面一样的方法拉到水和天空的交界处,混合模式为“滤色”,然后在添加图层蒙版,在上面添加一个渐变,让它有一个从实到虚的效果就可以了。

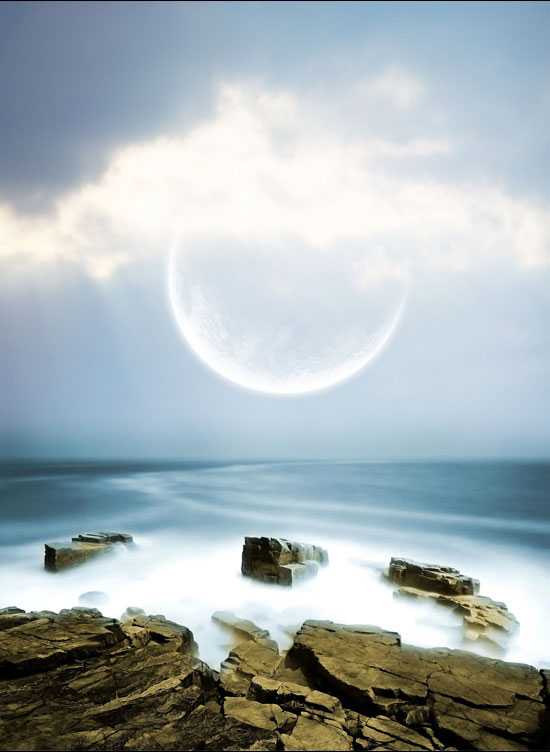
5、这里我们就把星球加进去,然后按CTRL+T旋转他,放好后到混合模式里面选择“滤色”,效果如下图。
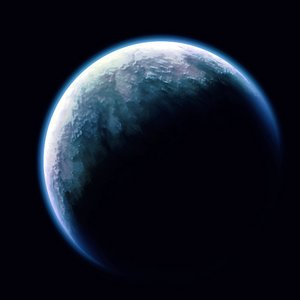
6、现在我们看到了星球上有淡蓝色,但是它跟其它图像不结合~所以我在这里使用去色,键盘CTRL+SHIFT+U,就可以了。
上一页12 下一页 阅读全文
1、我们先创建一个600X750的画布,然后把背景放到图层最下面。
2、用矩形选取工具,把背景图上方的一部分选取,下图标了红色框的按CTRL+J复制图层,然后CTRL+T把它拉到画布顶端。
3、稍微的使用高斯模糊,让2张图的连接处可以更加容易融合。
4、这时候我们加入天空图片,把下面那一截图按照上面一样的方法拉到水和天空的交界处,混合模式为“滤色”,然后在添加图层蒙版,在上面添加一个渐变,让它有一个从实到虚的效果就可以了。
5、这里我们就把星球加进去,然后按CTRL+T旋转他,放好后到混合模式里面选择“滤色”,效果如下图。
6、现在我们看到了星球上有淡蓝色,但是它跟其它图像不结合~所以我在这里使用去色,键盘CTRL+SHIFT+U,就可以了。
上一页12 下一页 阅读全文