Photoshop设计恐怖红色立体效果的字体
(编辑:jimmy 日期: 2026/7/5 浏览:2)
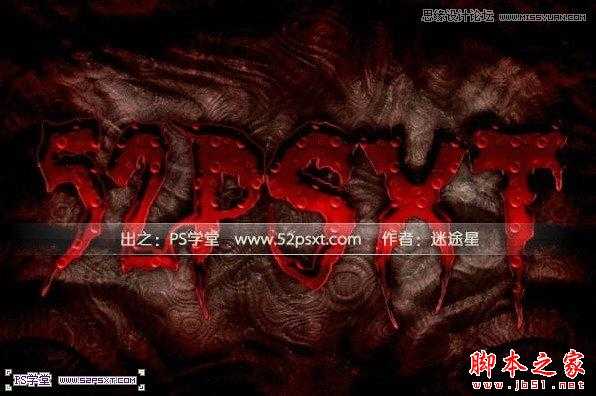
很恐怖的一种流血字体效果,看似挺难的效果,可是教程却很简单,主要是利用图层样式来使字体变出恐怖的出血效果,然后再添加上背景完成最后效果。
先来看下效果图:
教程所需的素材下载:本地高速下载
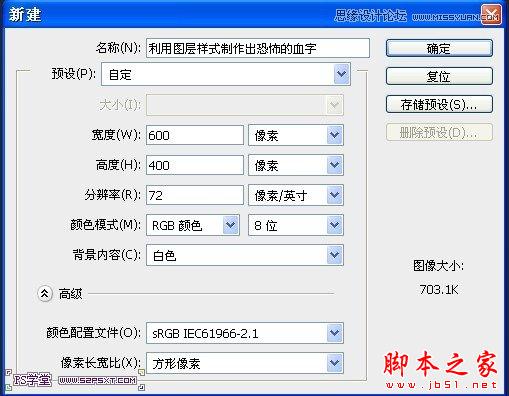
1.新建画布
2.设置前景色为#333333,填充前景色
3.双击背景层,解锁,然后添加图层样式,载入素材中的pat文件
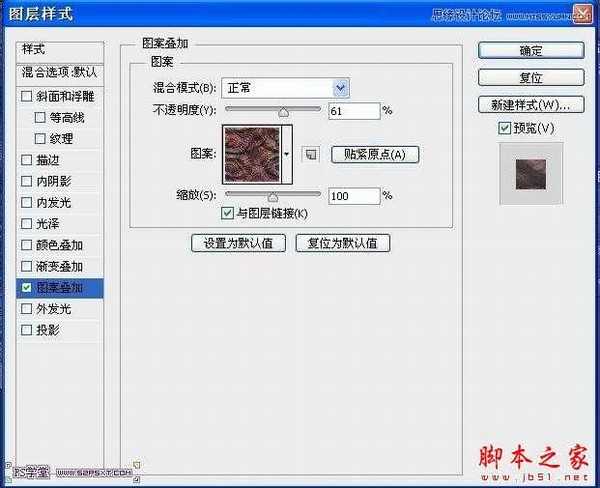

你将得到如图效果:

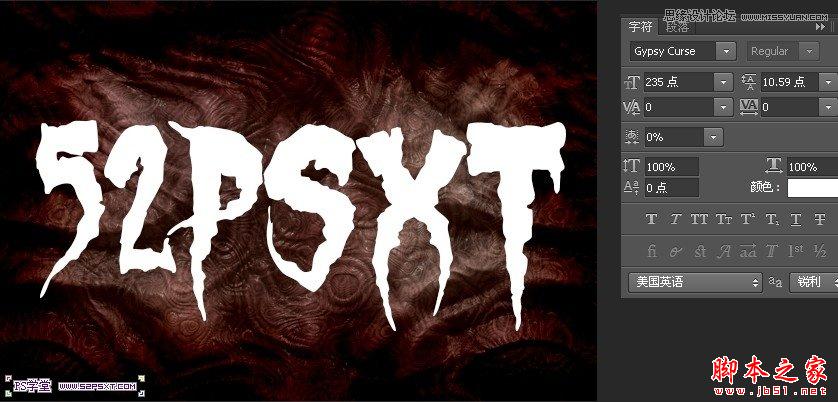
4.用素材中的Gypsy Curse字体打出“52PSXT”字样
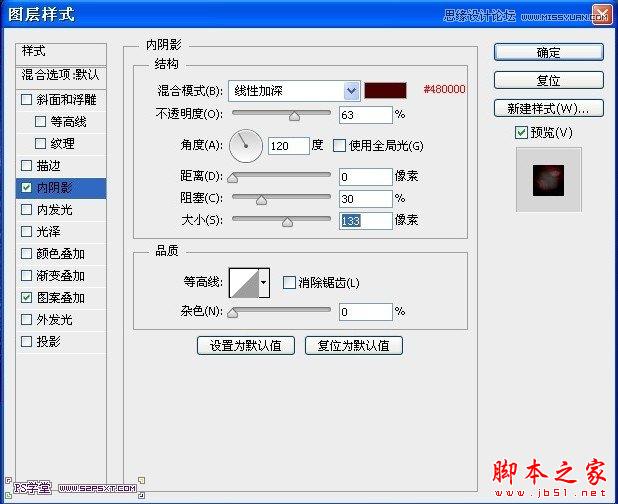
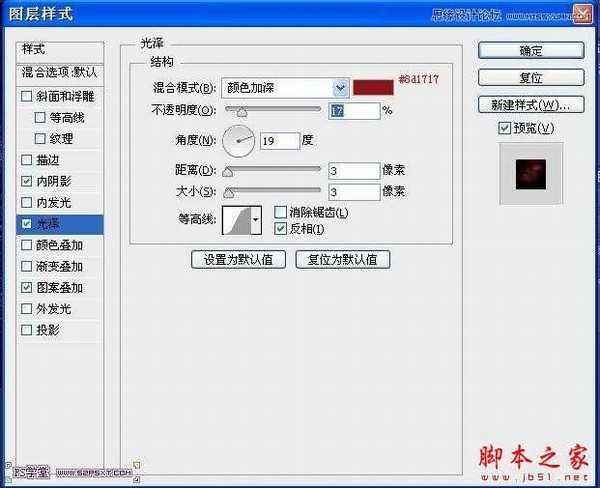
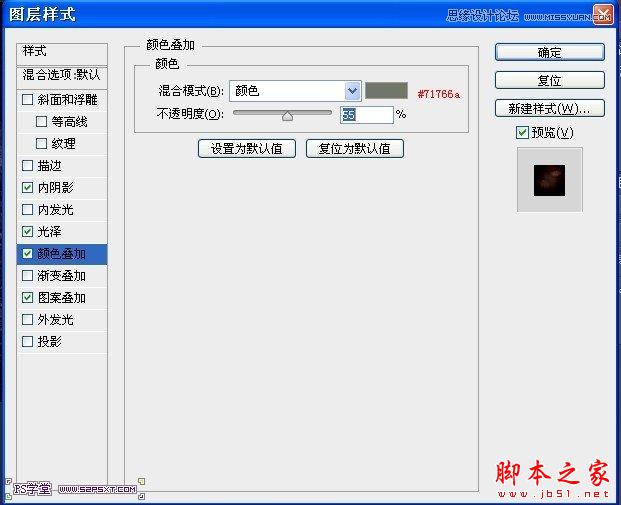
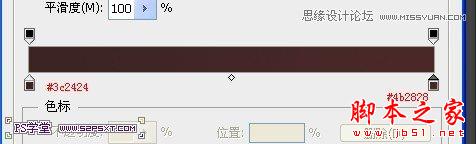
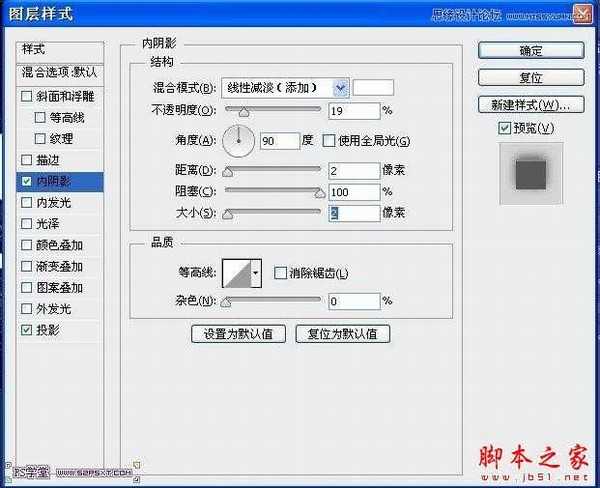
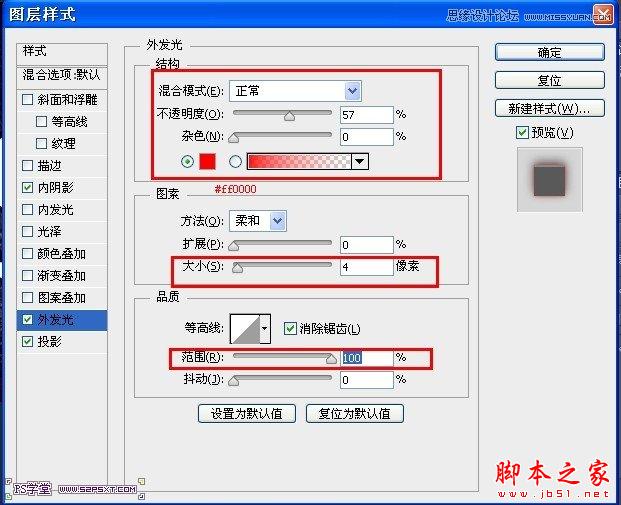
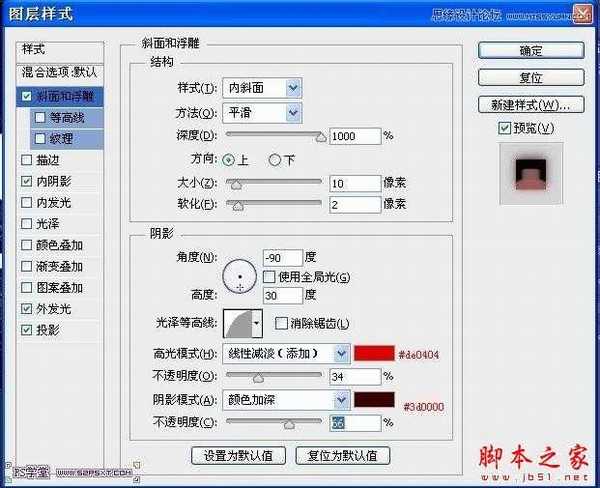
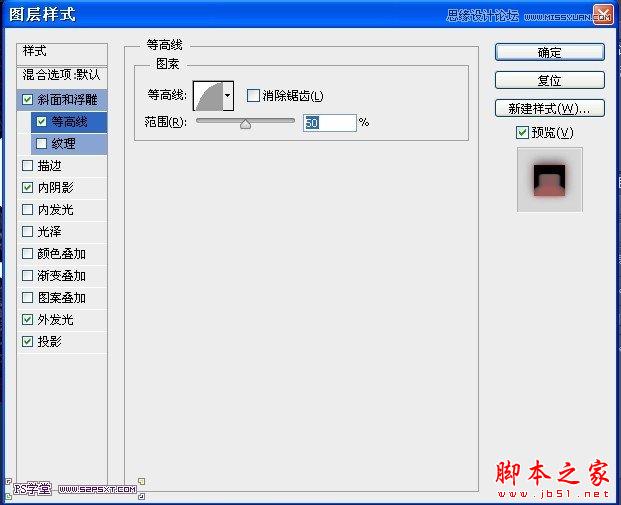
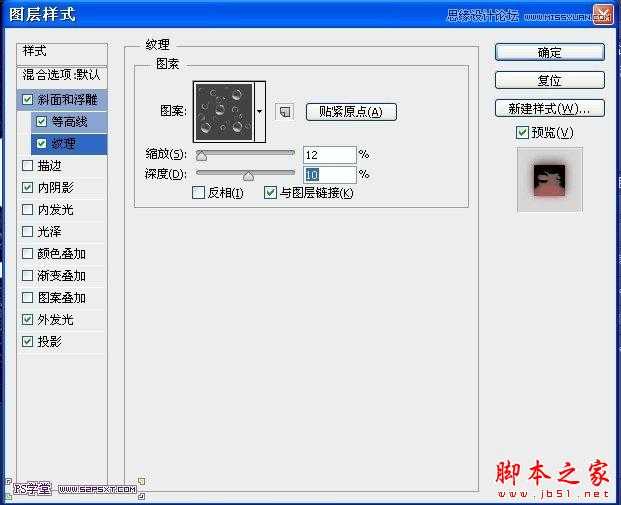
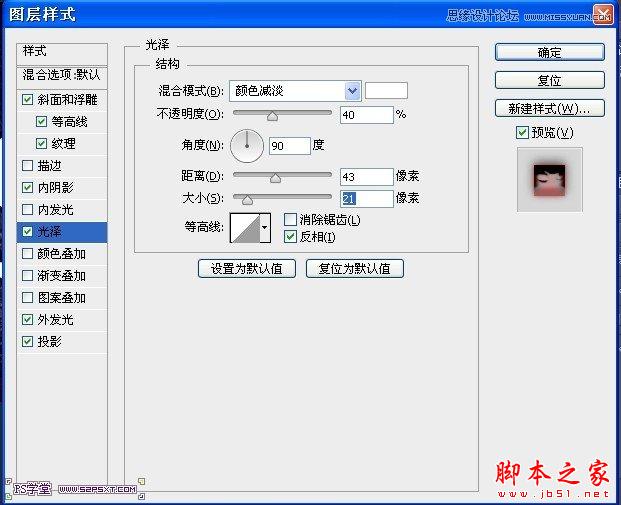
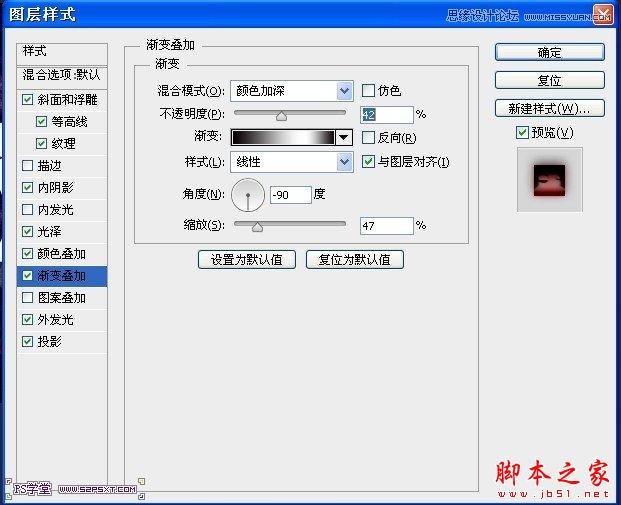
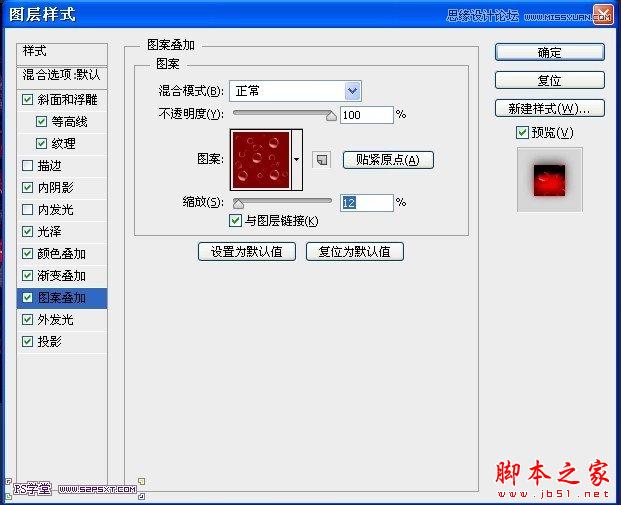
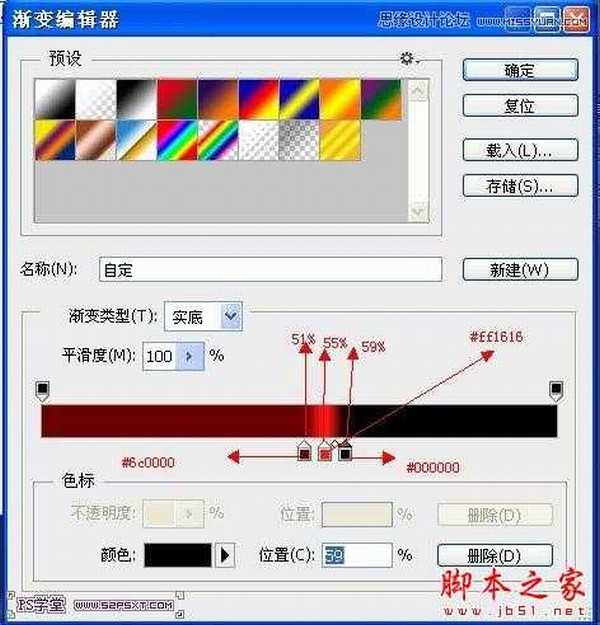
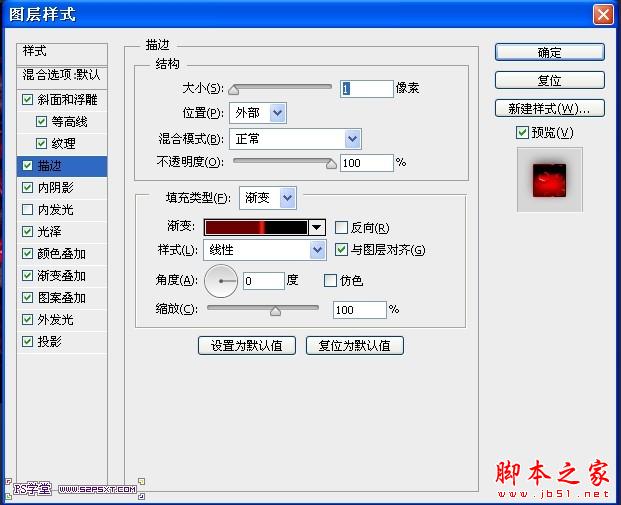
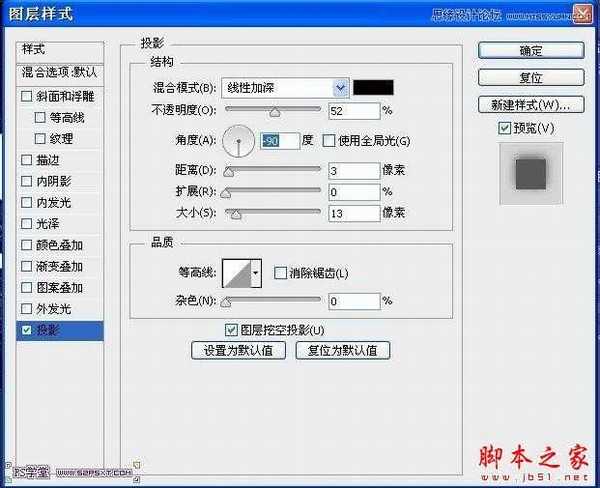
5.给字体添加图层样式


OK.,最后效果完成。是不是很简单呢。

先来看下效果图:
教程所需的素材下载:本地高速下载
1.新建画布
2.设置前景色为#333333,填充前景色
3.双击背景层,解锁,然后添加图层样式,载入素材中的pat文件
你将得到如图效果:
4.用素材中的Gypsy Curse字体打出“52PSXT”字样
5.给字体添加图层样式
OK.,最后效果完成。是不是很简单呢。