Photoshop将风景照片调成漂亮的青绿色
(编辑:jimmy 日期: 2025/12/31 浏览:2)
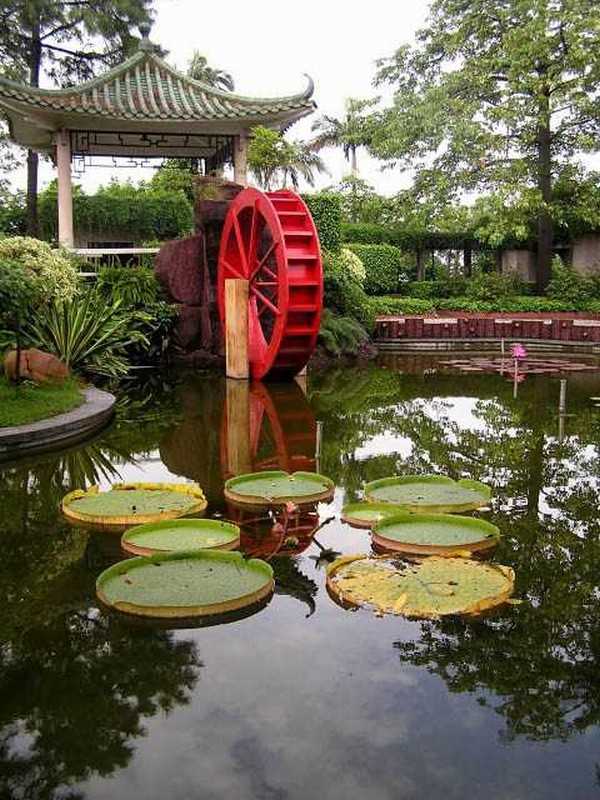
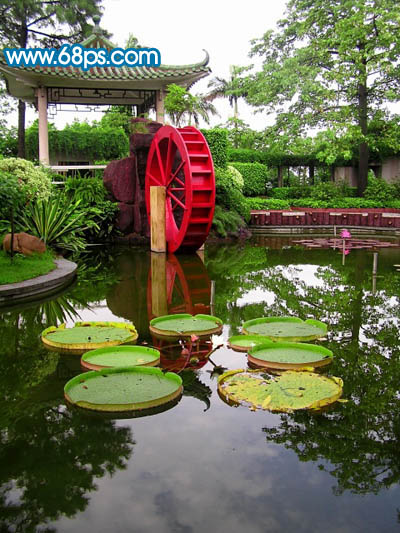
原图
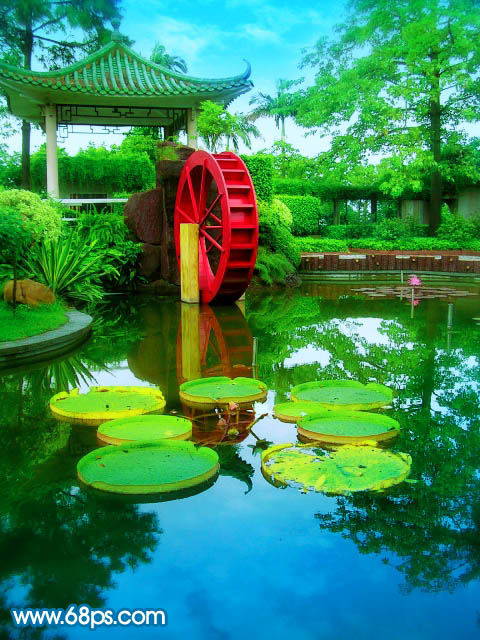
最终效果
1、打开原图素材,创建可选颜色调整图层,参数设置如图1 - 3,效果如图4。
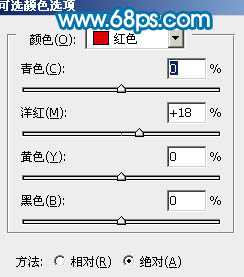
<图1>
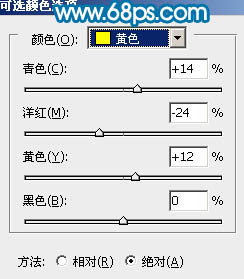
<图2>

<图3>
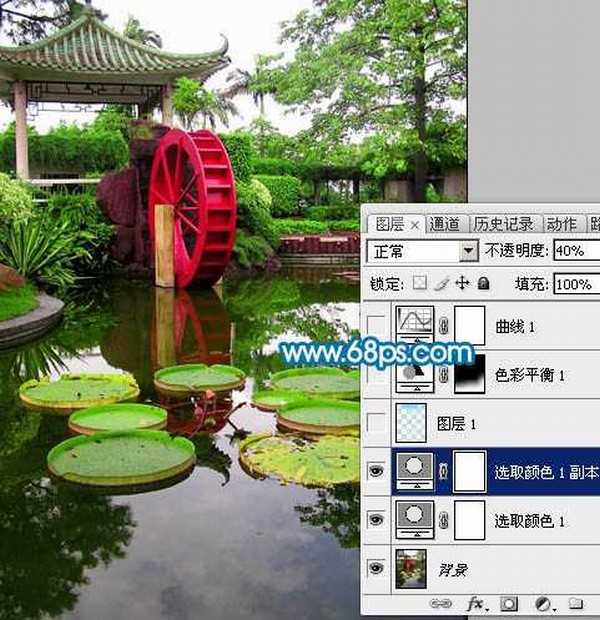
<图4> 2、把可选颜色调整图层复制一层,图层不透明度改为:40%,效果如下图。
<图5>
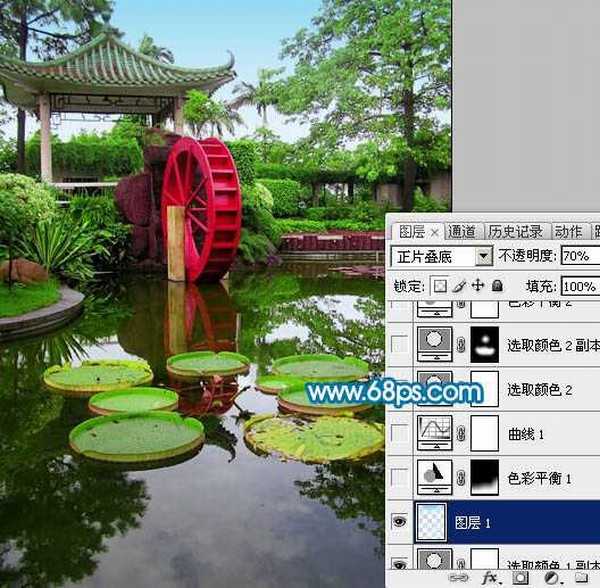
3、按Ctrl + Alt + ~ 调出高光选区。新建一个图层,选择渐变工具,颜色设置如图6由上至下拉出天空部分的渐变色,确定后把图层混合模式改为“正片叠底”,图层不透明度改为:70%,加上图层蒙版,用黑色画笔擦掉不需要的部分,如图7。

<图6>
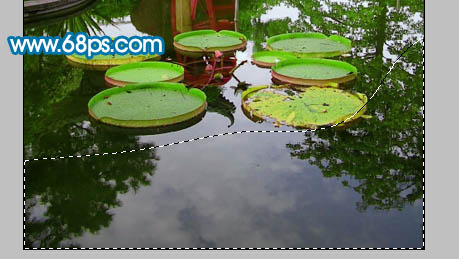
<图7> 4、用套索勾出图8所示的选区,按Ctrl + Alt + D 羽化45个像素后创建色彩平衡调整图层,参数设置如图9,效果如图10。
<图8>
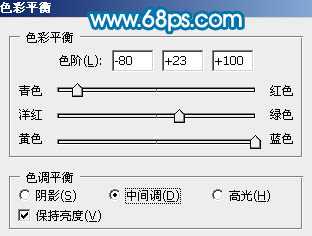
<图9>

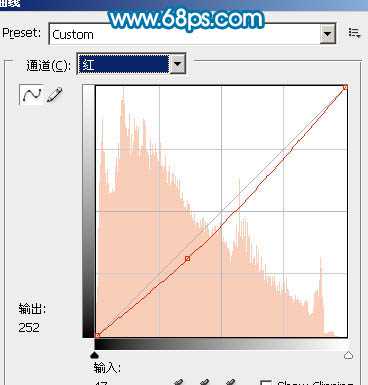
<图10> 5、创建曲线调整图层,参数设置如图11,12,13,效果如图14。
上一页12 下一页 阅读全文

最终效果

1、打开原图素材,创建可选颜色调整图层,参数设置如图1 - 3,效果如图4。

<图1>

<图2>

<图3>

<图4> 2、把可选颜色调整图层复制一层,图层不透明度改为:40%,效果如下图。

<图5>
3、按Ctrl + Alt + ~ 调出高光选区。新建一个图层,选择渐变工具,颜色设置如图6由上至下拉出天空部分的渐变色,确定后把图层混合模式改为“正片叠底”,图层不透明度改为:70%,加上图层蒙版,用黑色画笔擦掉不需要的部分,如图7。

<图6>

<图7> 4、用套索勾出图8所示的选区,按Ctrl + Alt + D 羽化45个像素后创建色彩平衡调整图层,参数设置如图9,效果如图10。

<图8>

<图9>

<图10> 5、创建曲线调整图层,参数设置如图11,12,13,效果如图14。

上一页12 下一页 阅读全文